MPChopper Build Notes:
This site contains affiliate links, including those from Amazon. As an Amazon Associate, we earn from qualifying purchases. This means that if you click on an Amazon link and make a purchase, we may receive a small commission at no extra cost to you.
These commissions help support the content on this site, allowing us to continue providing valuable information and recommendations. We only link to products we genuinely trust and believe will add value to your experience.
Floors, Walls, Ceiling
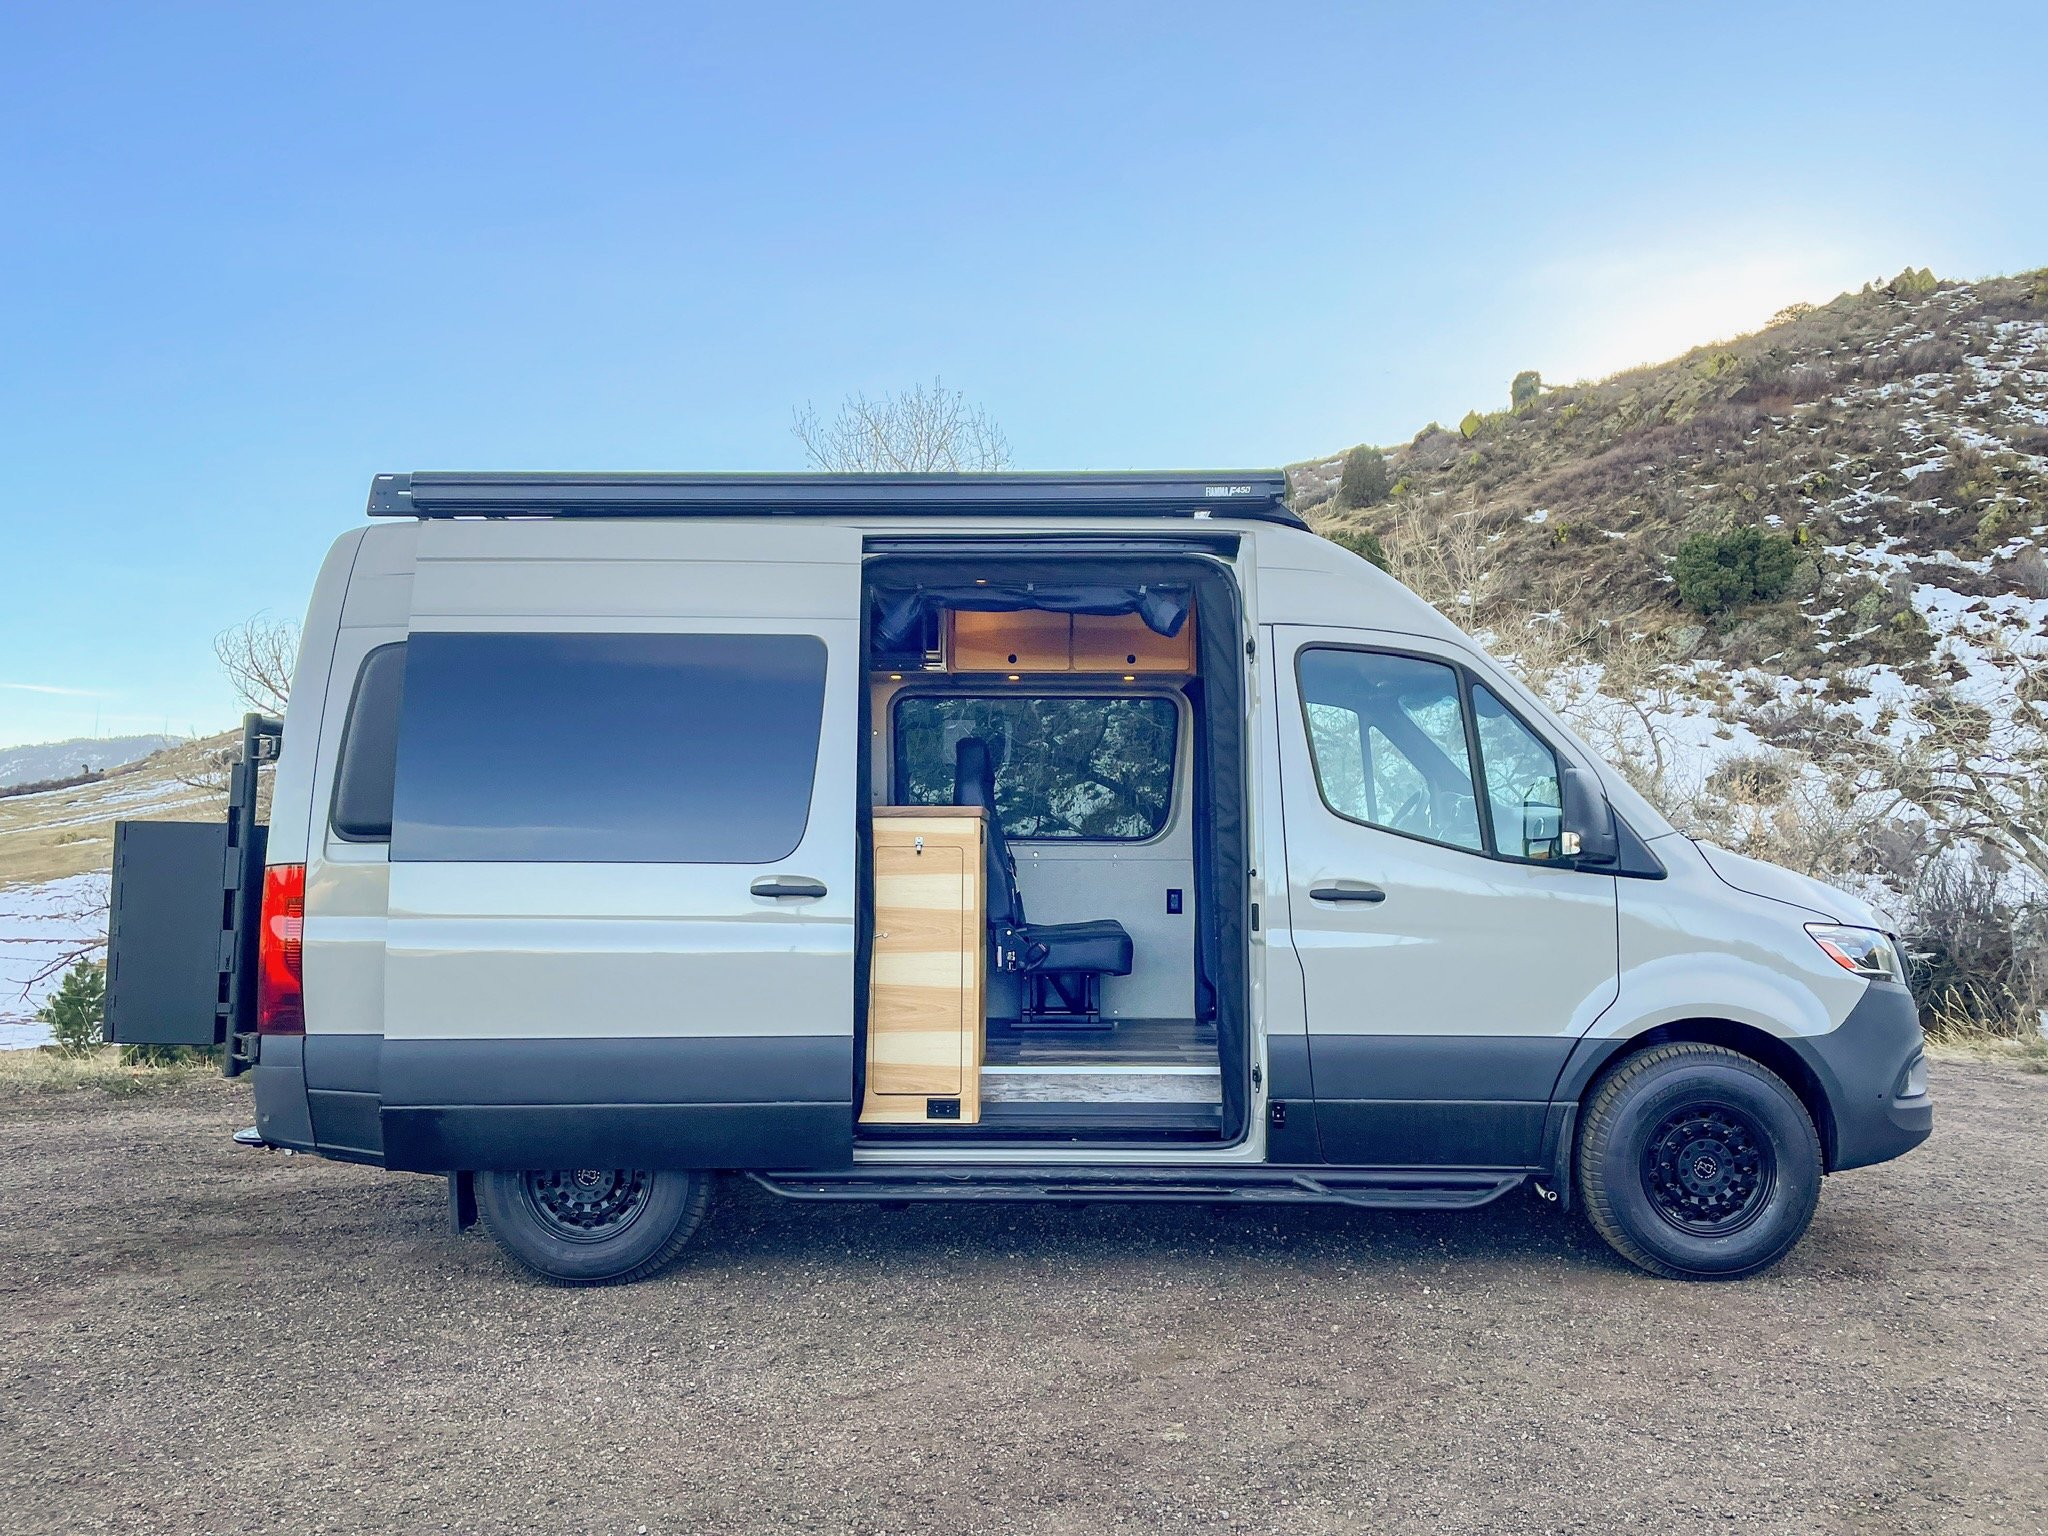
Like a lot of our projects, this rig started as an empty vehicle. We start with what we call the shell - floor, walls, and ceiling, but there are a lot of steps and parts that go into those 3 words.
Floor: We start with 3/4” marine grade plywood sourced from National Wood Products for our subfloor.
This van didn’t get an insulated floor, so we scuff the high points of the corrugated sheet metal van floor and use Sikaflex-252 to stick the plywood to the van floor.
Our CNC cut floor panels allow us to hold the plywood in place with factory bolts, but we also weigh down the subfloor with emphasis on the seams between panels - we need this substrate to be as flat as possible to make installation of our finish floor easy.
Like a lot of the vans we work on, this client opted for a luxury vinyl plank flooring. We like the comfort, durability, and easy cleaning of waterproof LVP options. The style this client chose was Nucore RIverstone Oak.
The final step on the floor is trim. We used a 1” x1'/8” wall aluminum angle that we source from Alreco Aluminum in Henderson, CO to cover up the plywood and floor edges where they are exposed.
Walls: First step on the walls is to pack everything with insulation.
We used the DEI Precut Insulation Kit for 144” Sprinters on this van to help maintain temperature inside the van. Once insulation is in and cable has been pulled behind the walls where it is needed, we install our wall panels with 35mm panel bolts and 1/4-20 Rivnuts set in the van sheet metal.
Our wall panels on this van were made of 1/4” plywood (again sourced from National Wood Products) and we always upholster our wall panels with 1/8” closed cell foam and our finish fabric - in this van Carlisle Wool CRL 12 Berber.
We also wrap the metal thresholds in our vans so we used the same fabric for the slider and rear door openings. We sourced our fabric from Keyston Bros in Denver.
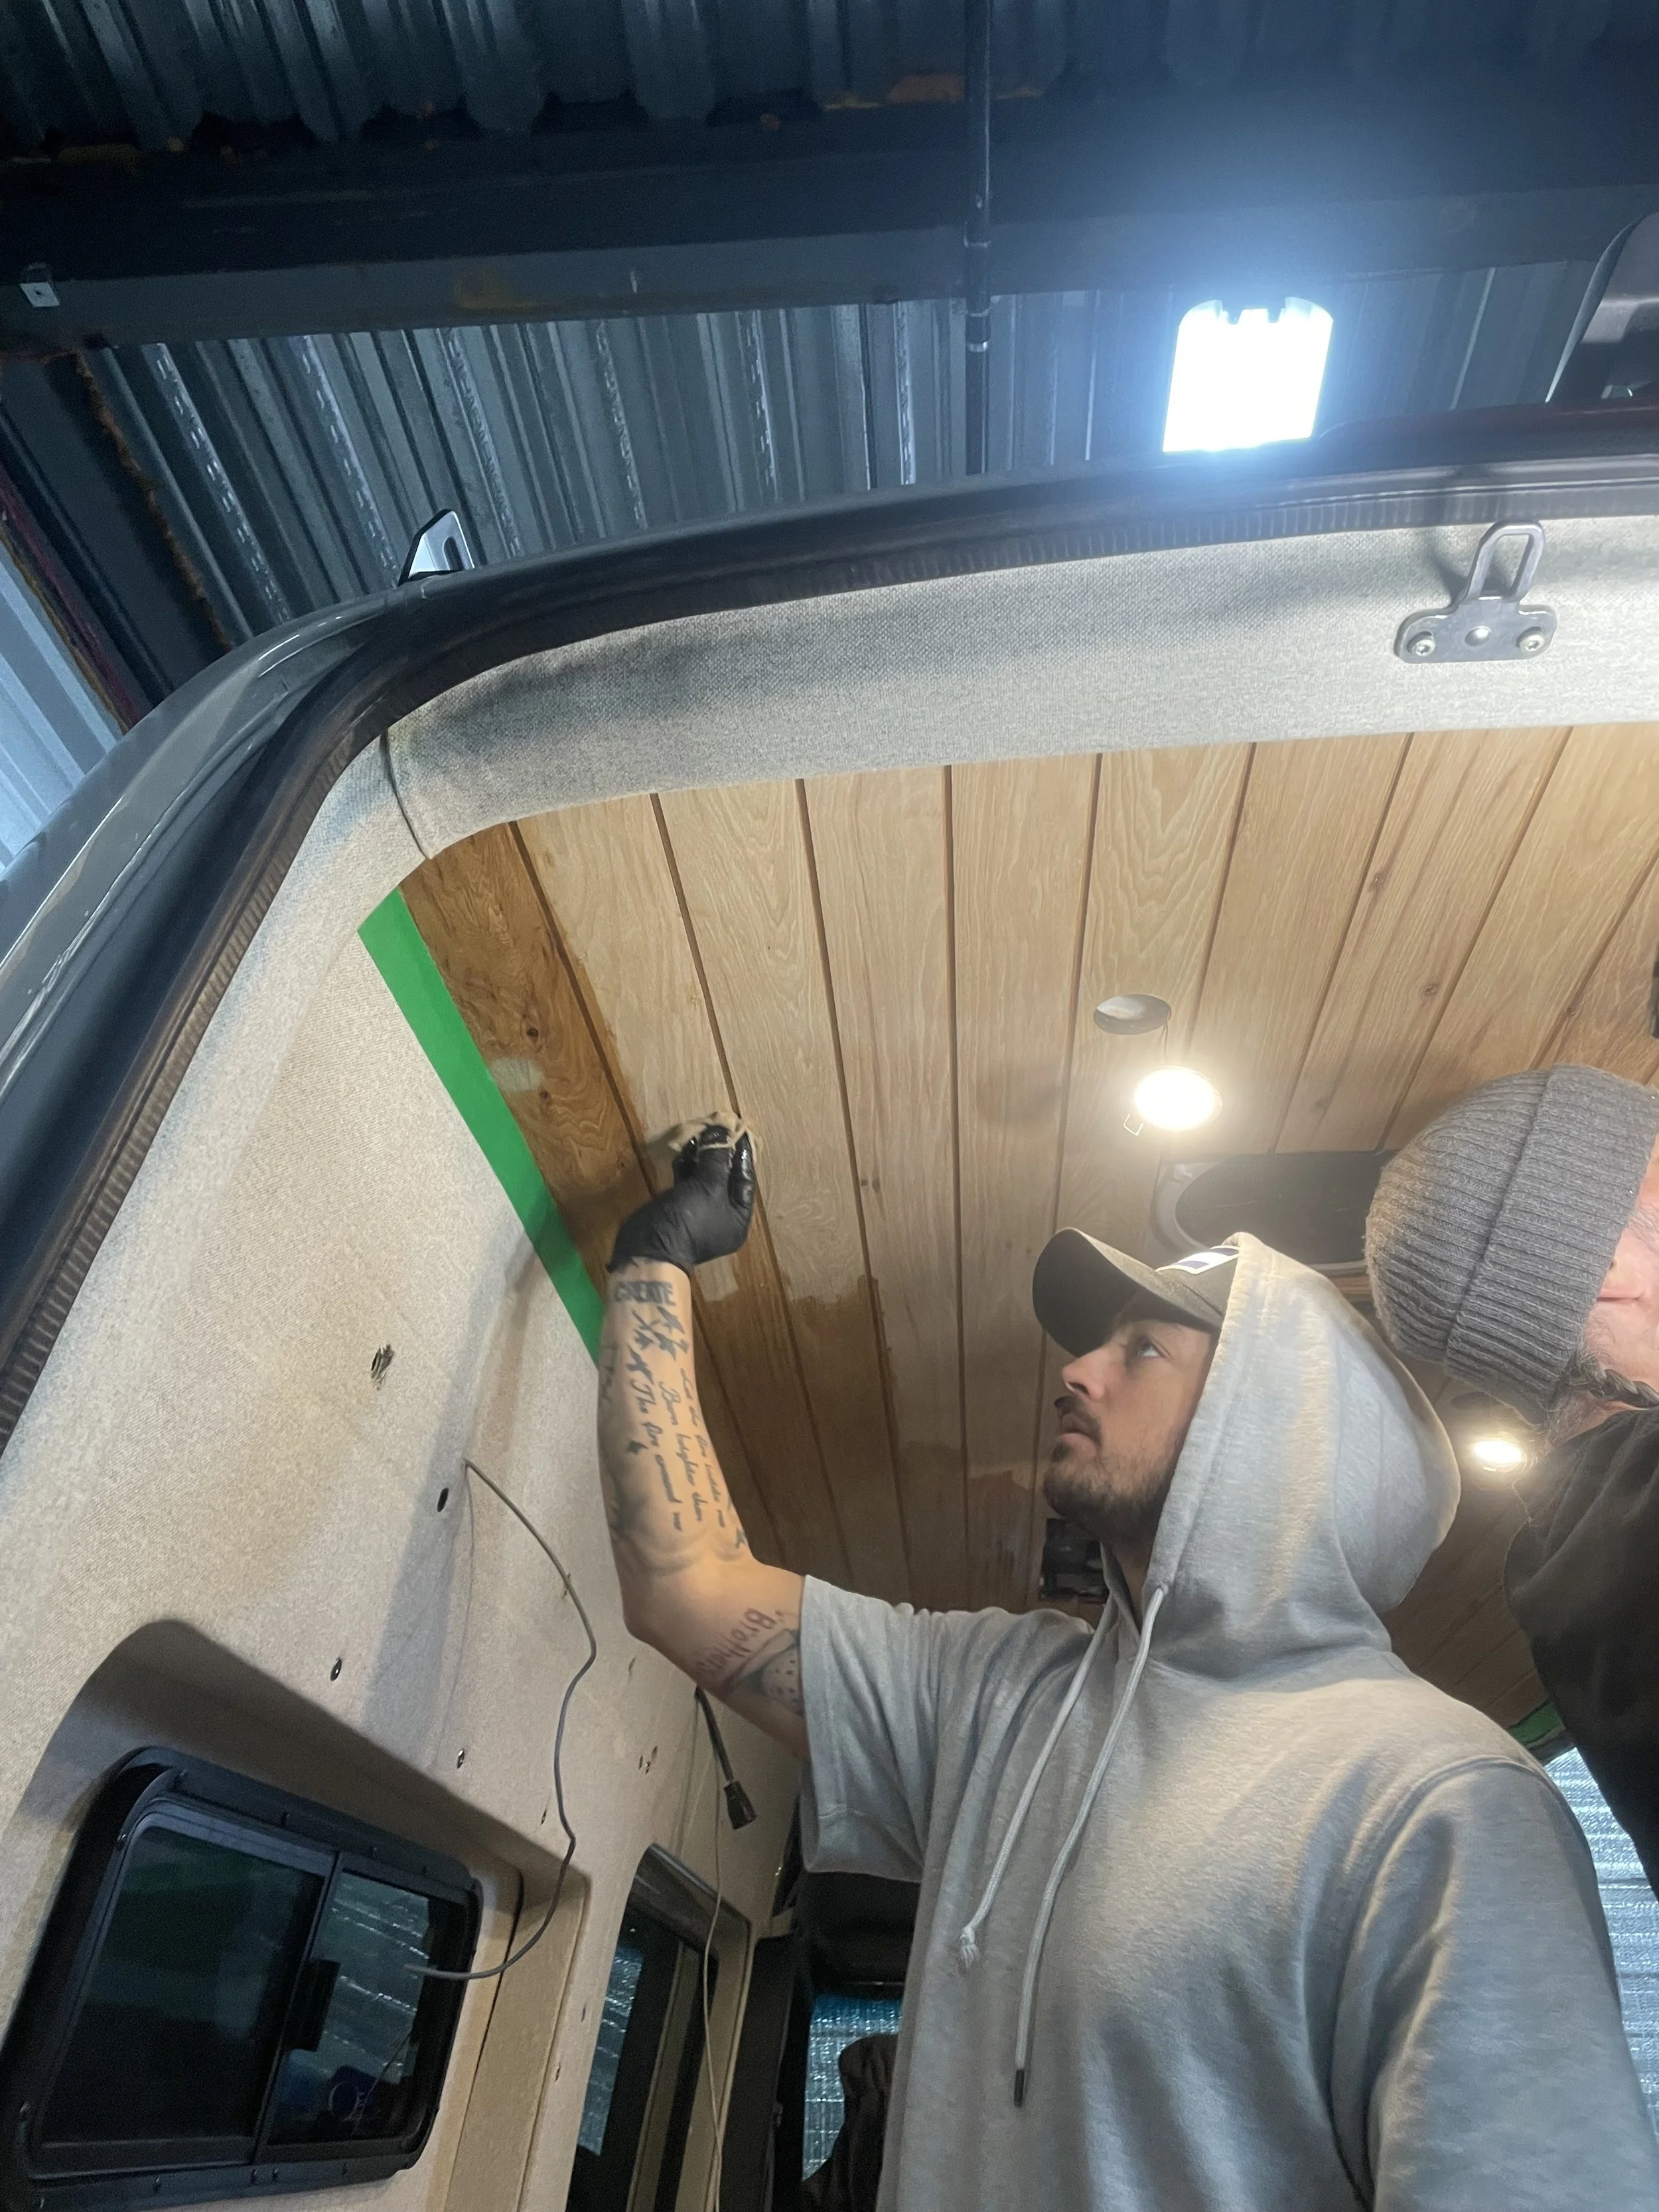
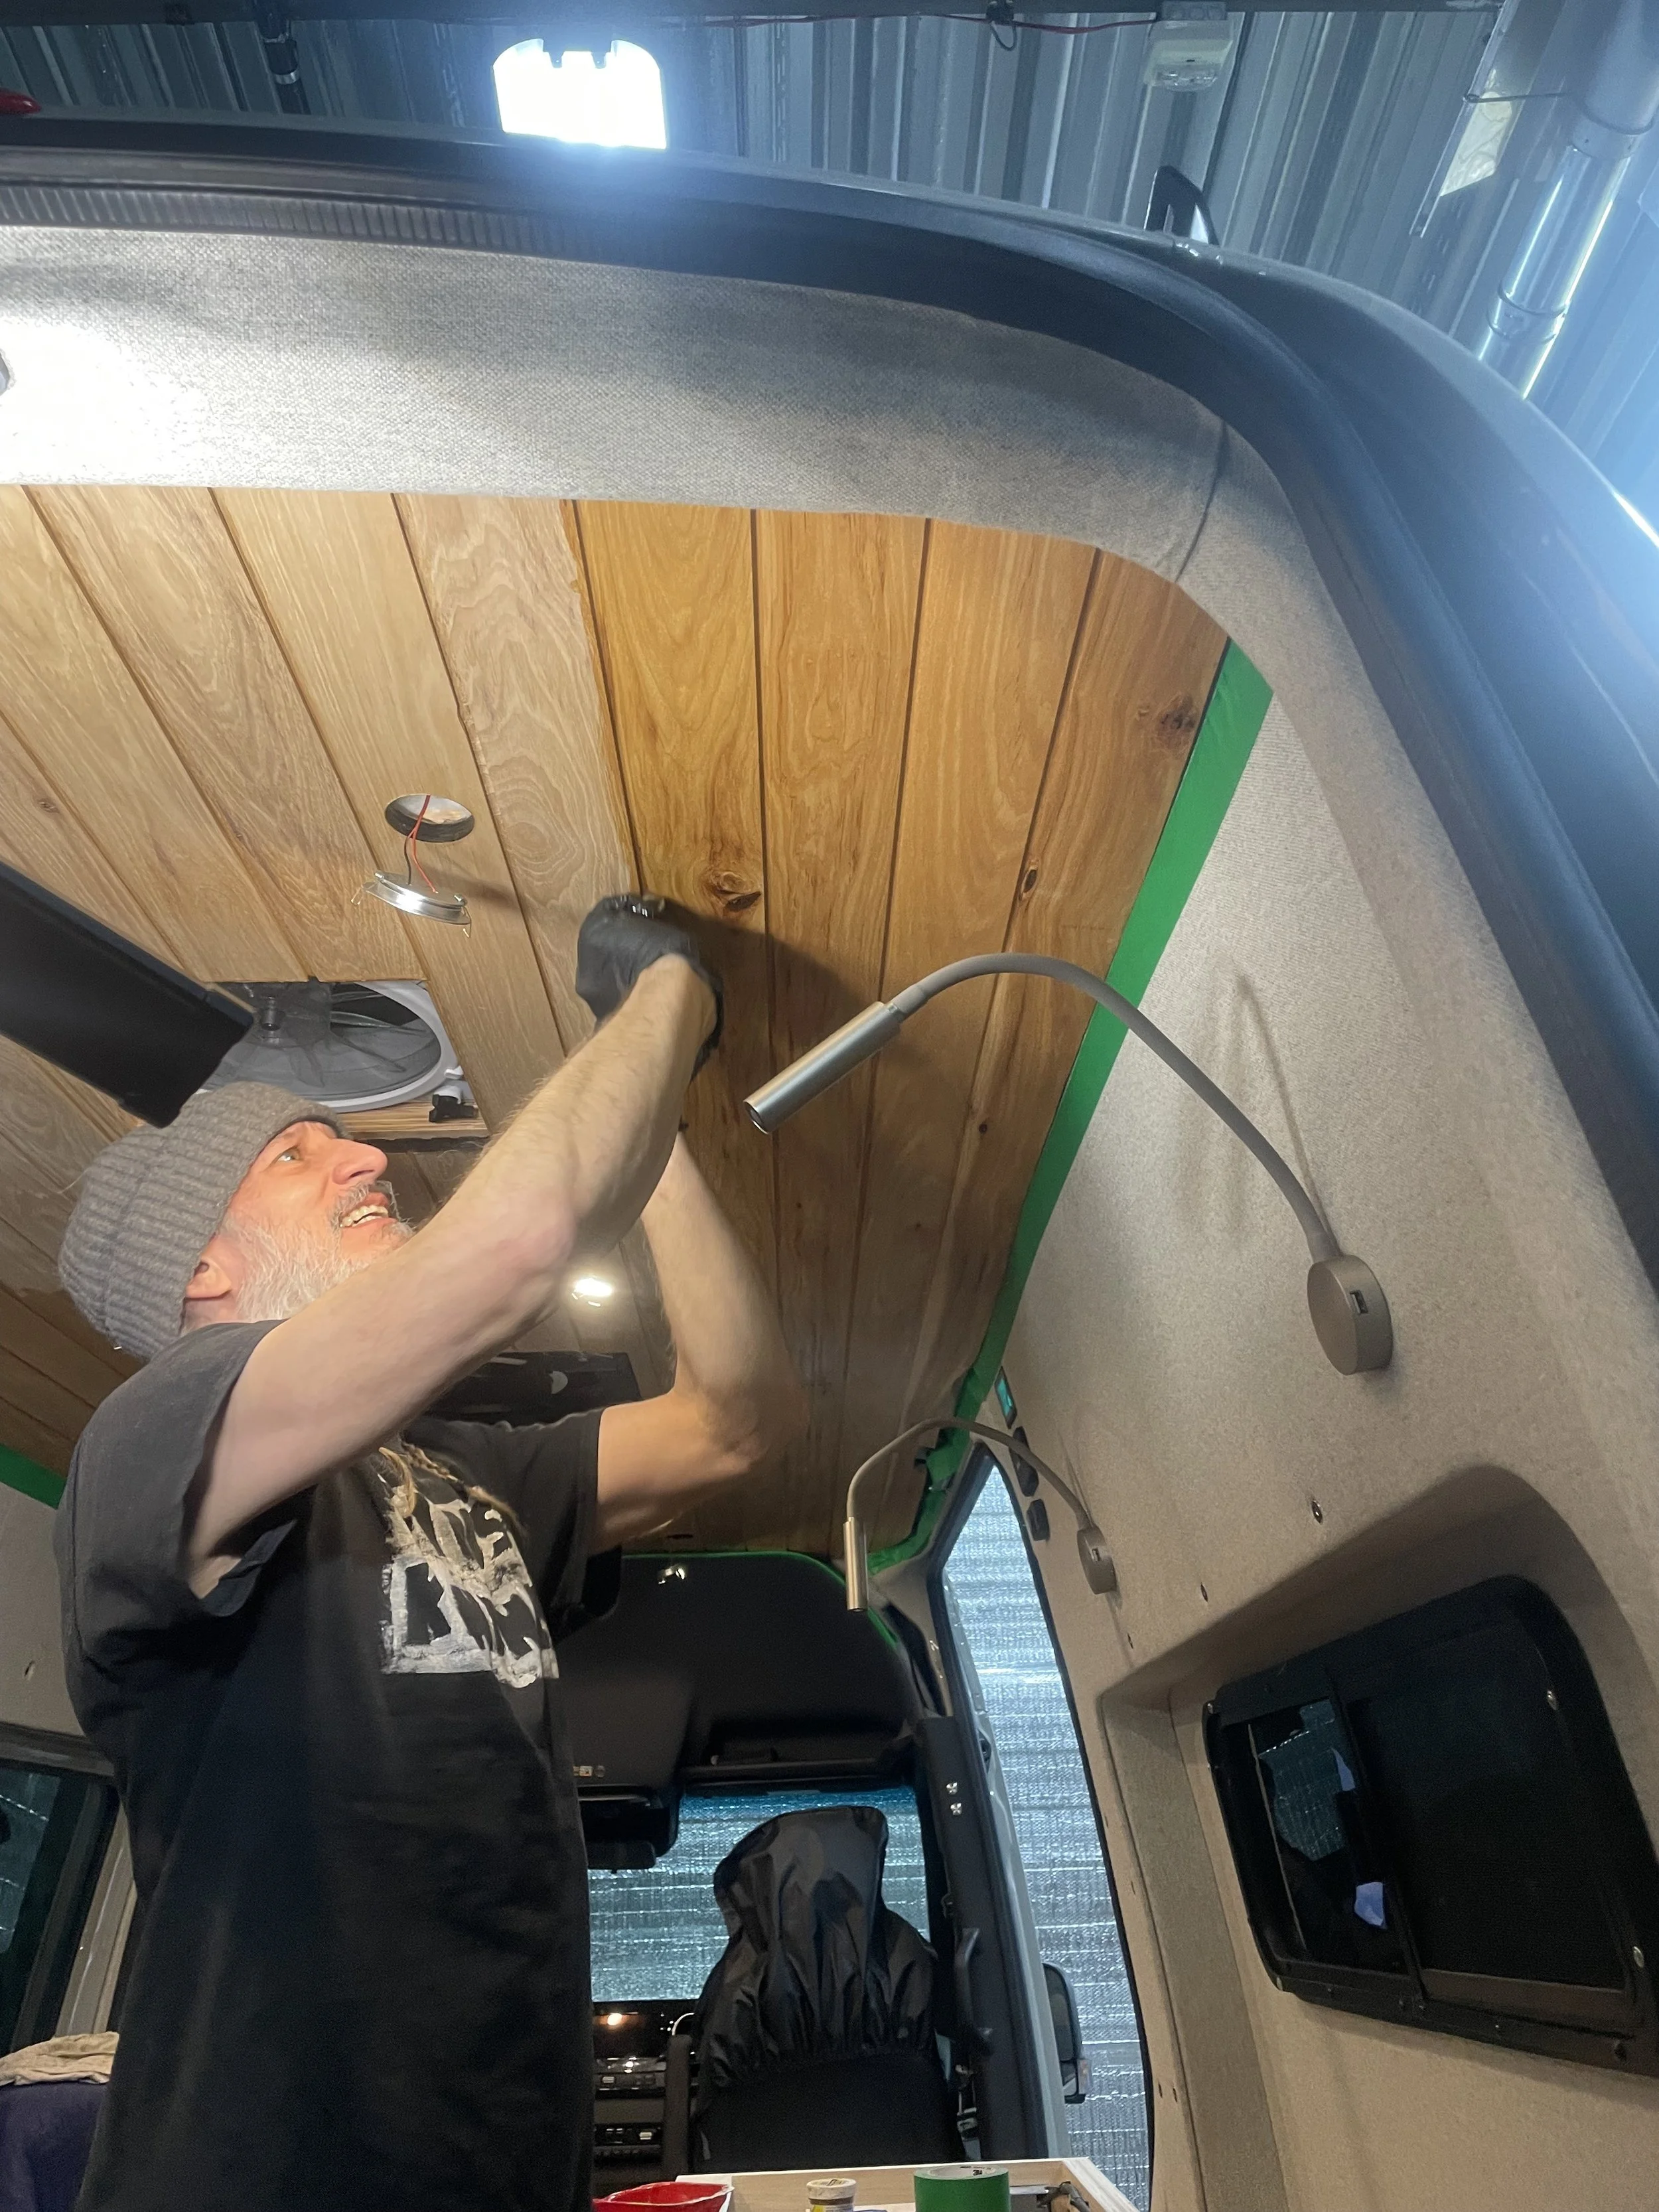
Ceiling: This client loved the natural wood look, so we went with a custom milled Hickory heartwood tongue and groove board for the ceiling (sourced from Paxton Hardwoods).
We add wooden framing to either side of the metal roof frame and then install the ceiling with brads and the same Sikaflex 252 that we use on the floor for a nice seamless look with no fasteners. We fill our brad holes with matching putty and finish off everything with Oil Based Polyrurethane to seal it up. Our standard interior lighting package includes 8 of these puck lights installed into the ceiling.
Electrical
The heart of every modern camper van is the electrical system.
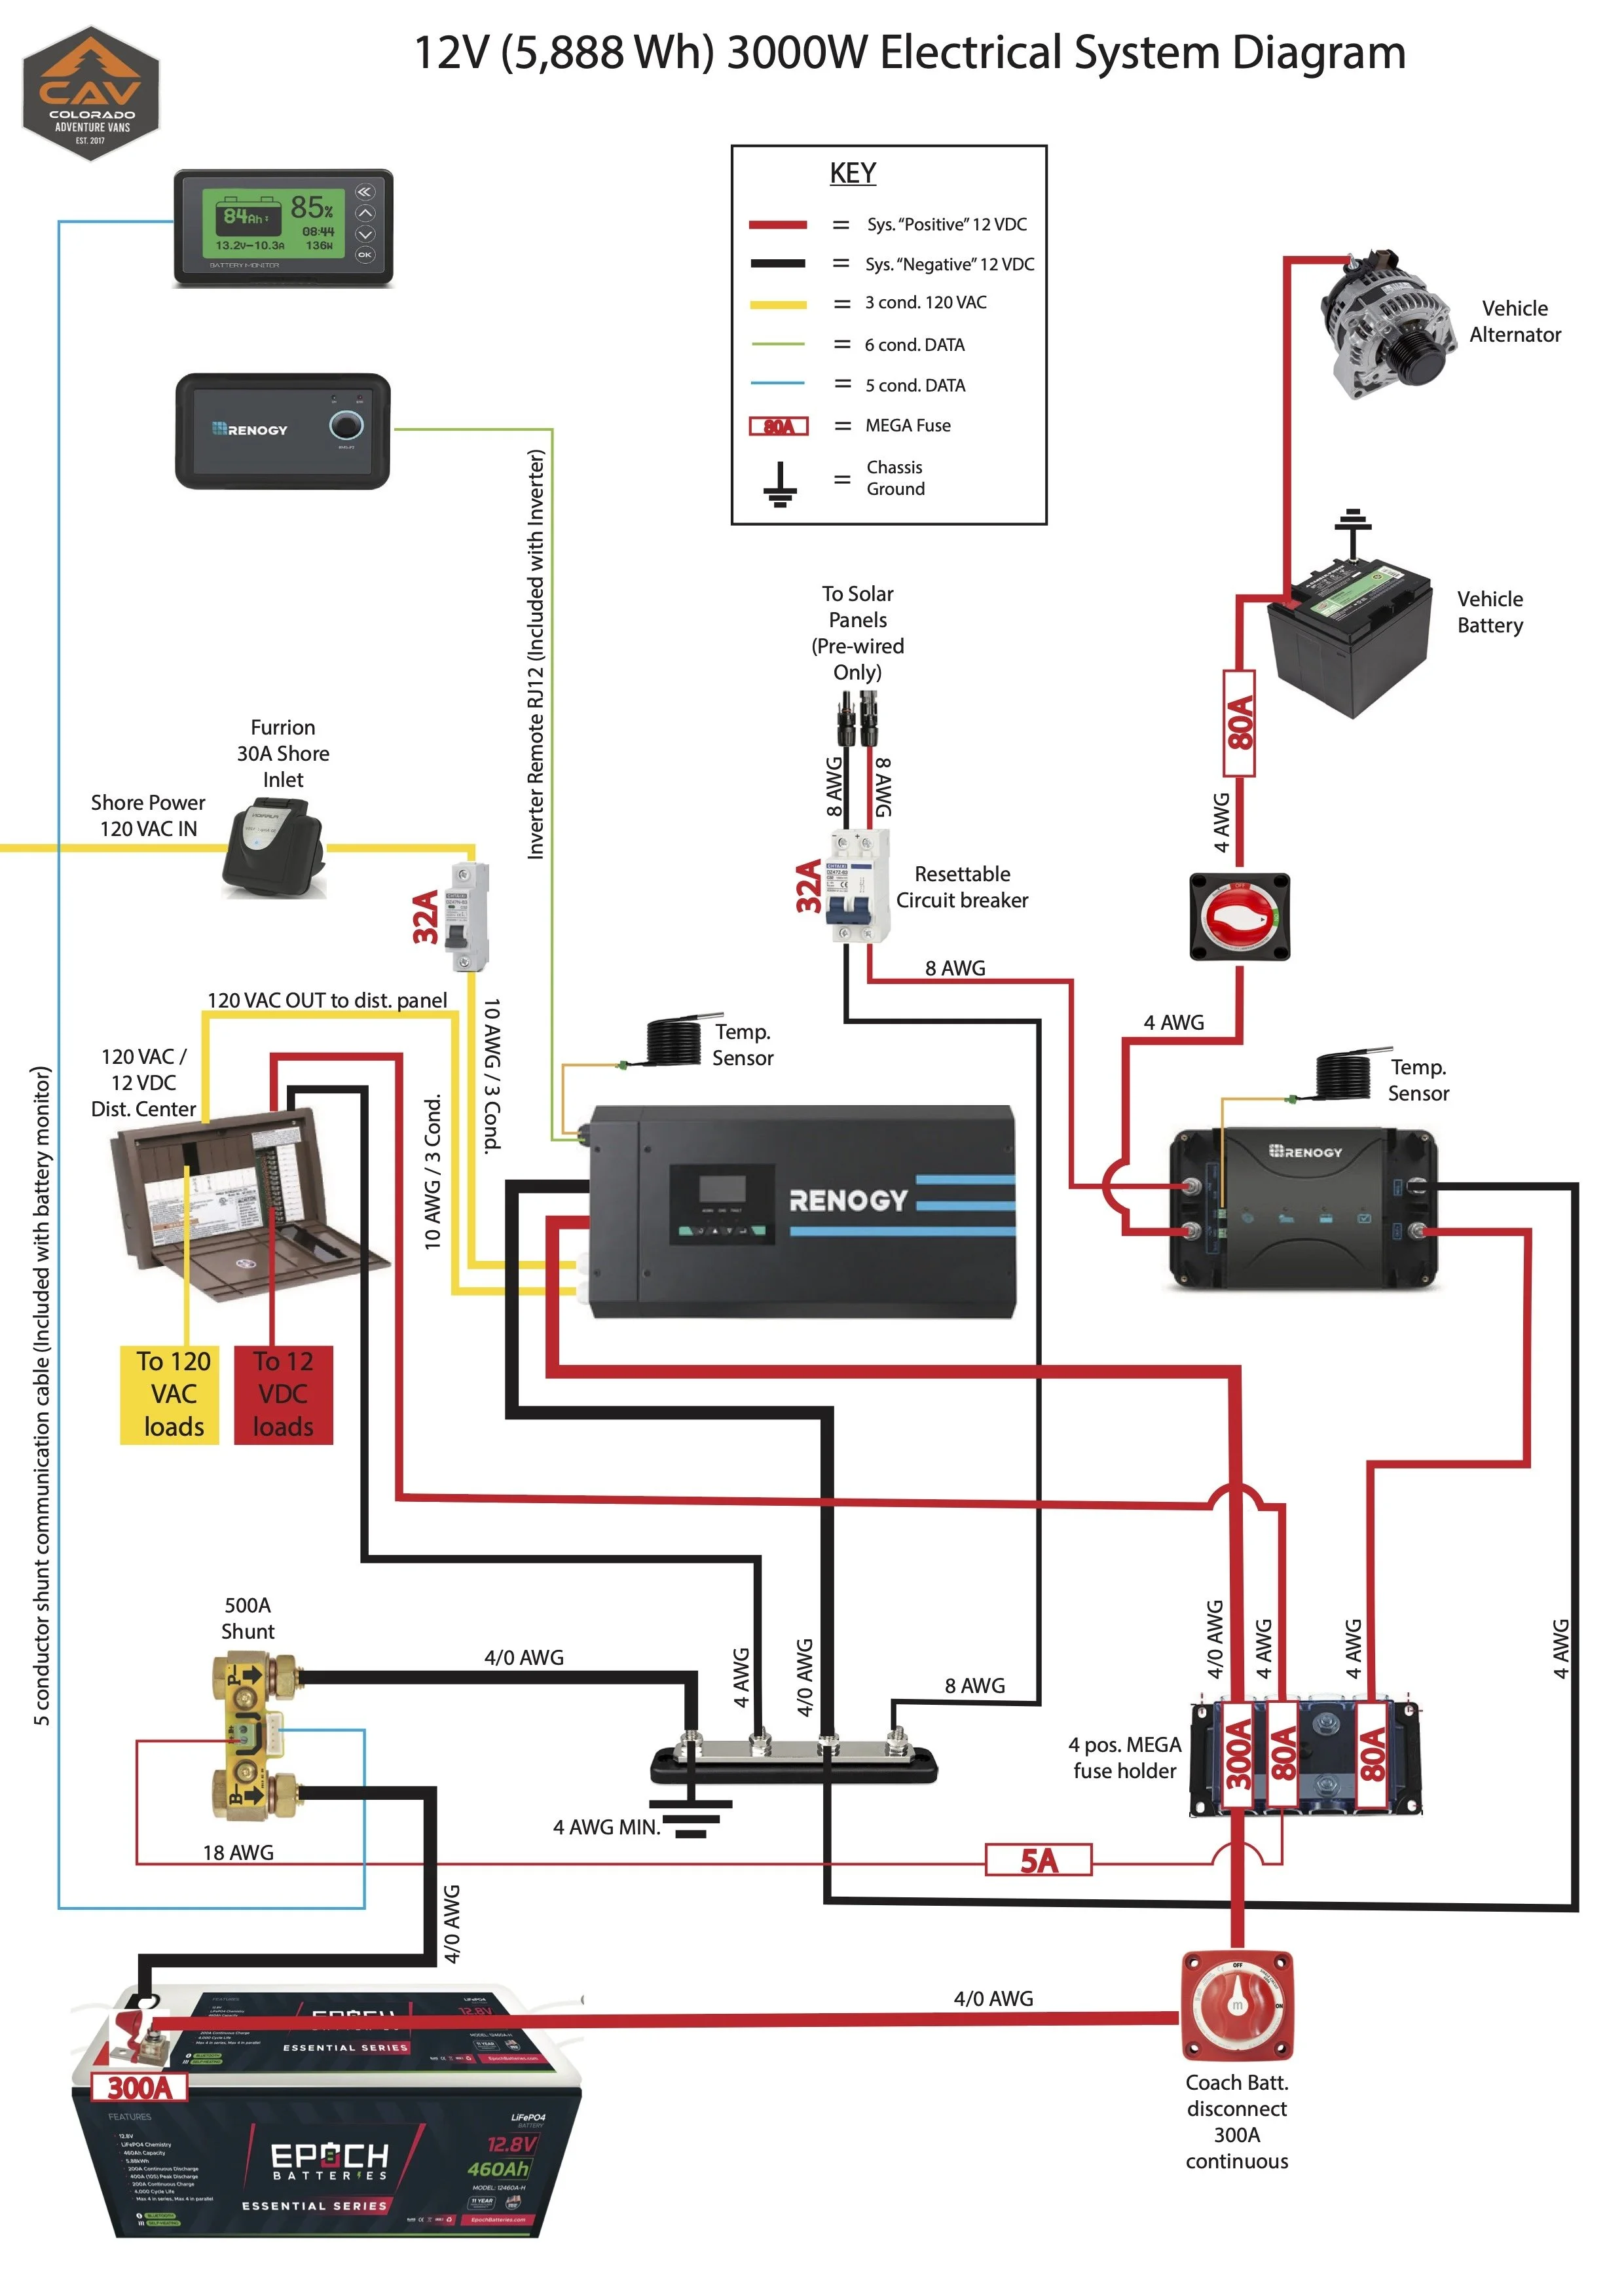
This customer opted for a basic but powerful system to allow them the option of boondocking for a bit even though their typical camp spot has access to grid power. Full parts list can be found here.
Battery: Epoch 12v 460Ah Self Heating - space efficient, capable, and with enough juice to run the AC for a few hours off the grid if needed. If the AC isn’t being used, this battery can power everything in the van for days without a recharge.
This battery has an internal BMS that handles cell monitoring and balancing and protects the battery from high and low temperatures.
Epoch is a reputable, and budget friendly lithium battery manufacturer and includes an impressive 11-year warranty with all of their batteries.
Inverter: Renogy 3000W Inverter/Charger - we opted for a 3000W inverter to safely start up the AC (the difference between a 2000W and 3000W inverter charger was less than installing a soft start on the air conditioner)
DC-DC: Renogy 50A DC-DC plus MPPT - 50A of charging while driving with the option of adding solar later. We always install a battery disconnect switch in line so that we can safely service the system if needed.
Battery Monitor: Renogy 500A Battery Monitor with Shunt - It’s only two components, a basic monitor screen and a shunt rated at 500A. It monitors voltage, calculates percentage, time to go, and is super easy to program.
It’s an effective system and does the job of letting you know how much power you have and how much power is flowing in and out of the battery in real-time.
Even though the Epoch battery has a built-in battery monitor, it can only be used over Bluetooth, and due to its wireless nature, it can be a little slow or lag at times.
Solar Panels: No solar panels were installed on this van as the customer didn’t think he would need it, but we did bring cable from the charge controller up to the roof in case he decides to add it in the future.
Power Distribution: Power distribution always starts with a main battery MRBF fuse and a master disconnect switch. After that power is distributed at the 12 VDC MEGA fuse center to all 12 VDC components and/or loads.
Further downstream 12 VDC along with 120 VAC from the inverter is then further distributed into branch circuits at the WFCO WF-8930 Power distribution center to all 12 VDC and 120 VAC appliances and devices.
Miscellaneous: Some of the small parts we used constructing our system
Furrion Shore Power Inlet and 32A Mini Circuit Breaker
We get most of our cable from Windy Nation
Send an email to off_grid@coadventurevans.com if you’re interested in our help building or consulting for your electrical project
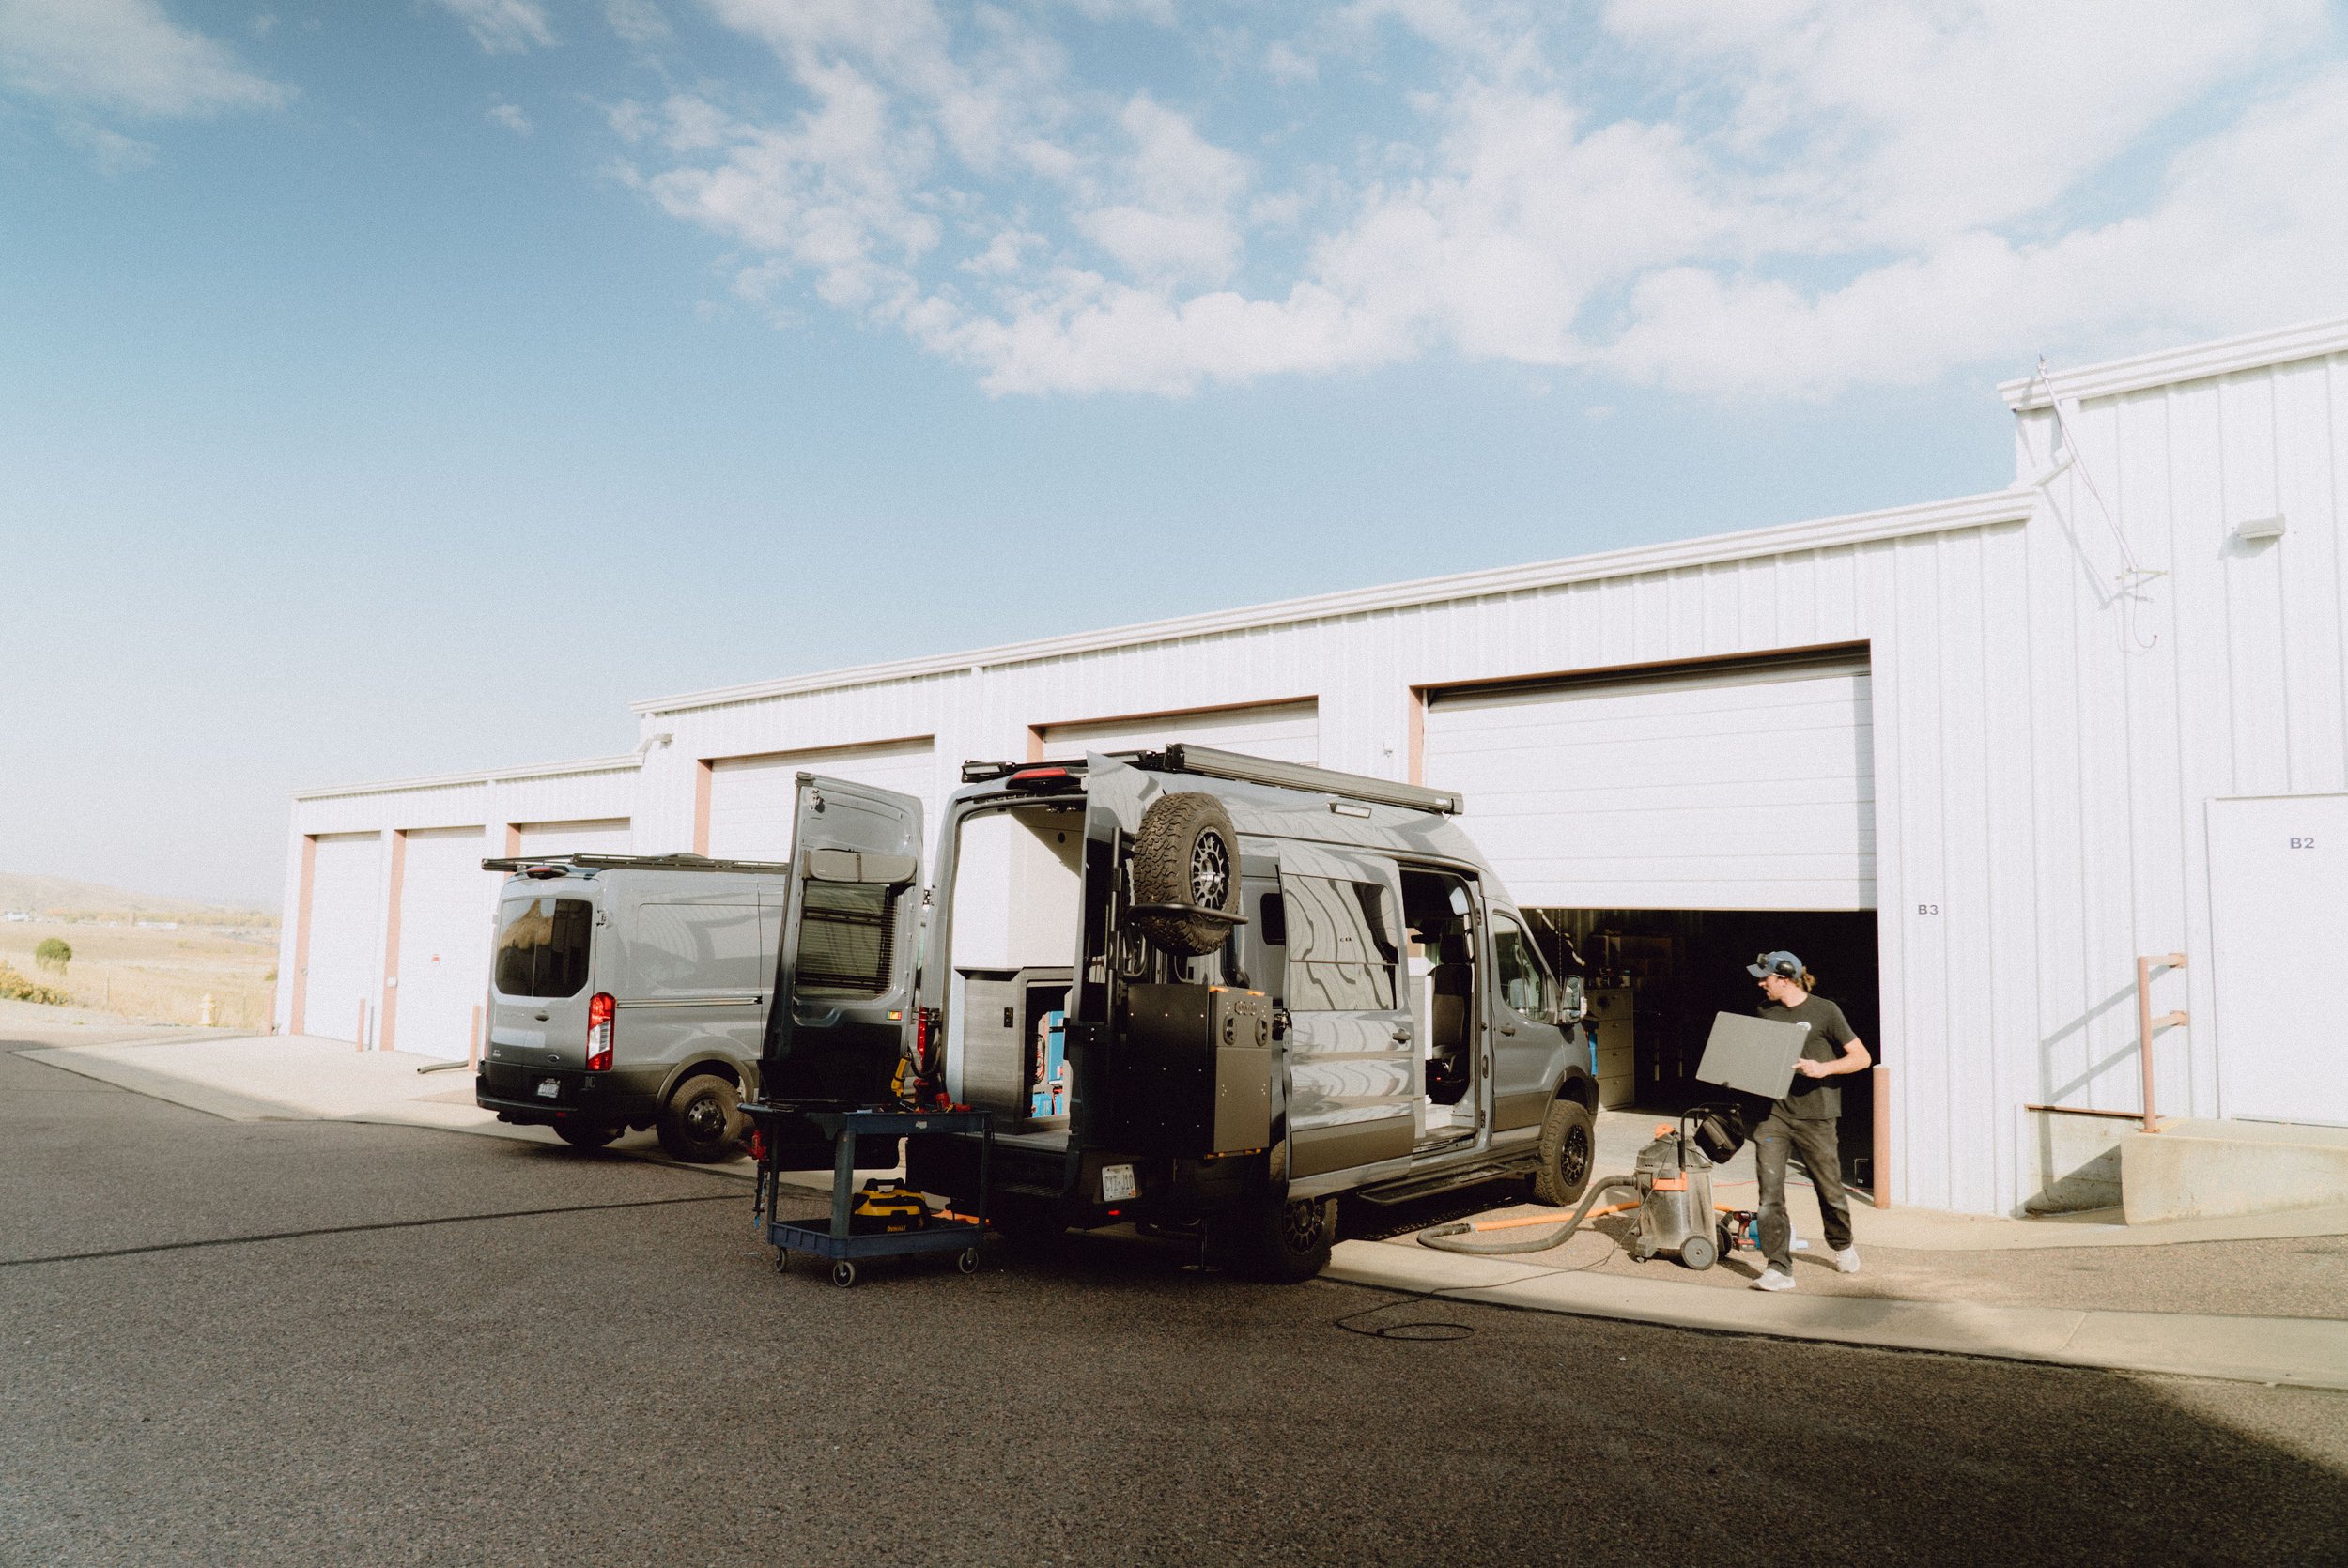
Colorado Adventure Vans is an Upfitter based in Golden, Colorado.
Building out vans since 2017, we take great care with every build in our shop. Our focus is quality, not volume, aiming our attention to detail to ensure your adventure rig is ready for anything the road throws at you.

Follow us on social media
Head to your favorite social platform below to stay up to date on all things Colorado Adventure Vans. New vans, rental destinations, & more.
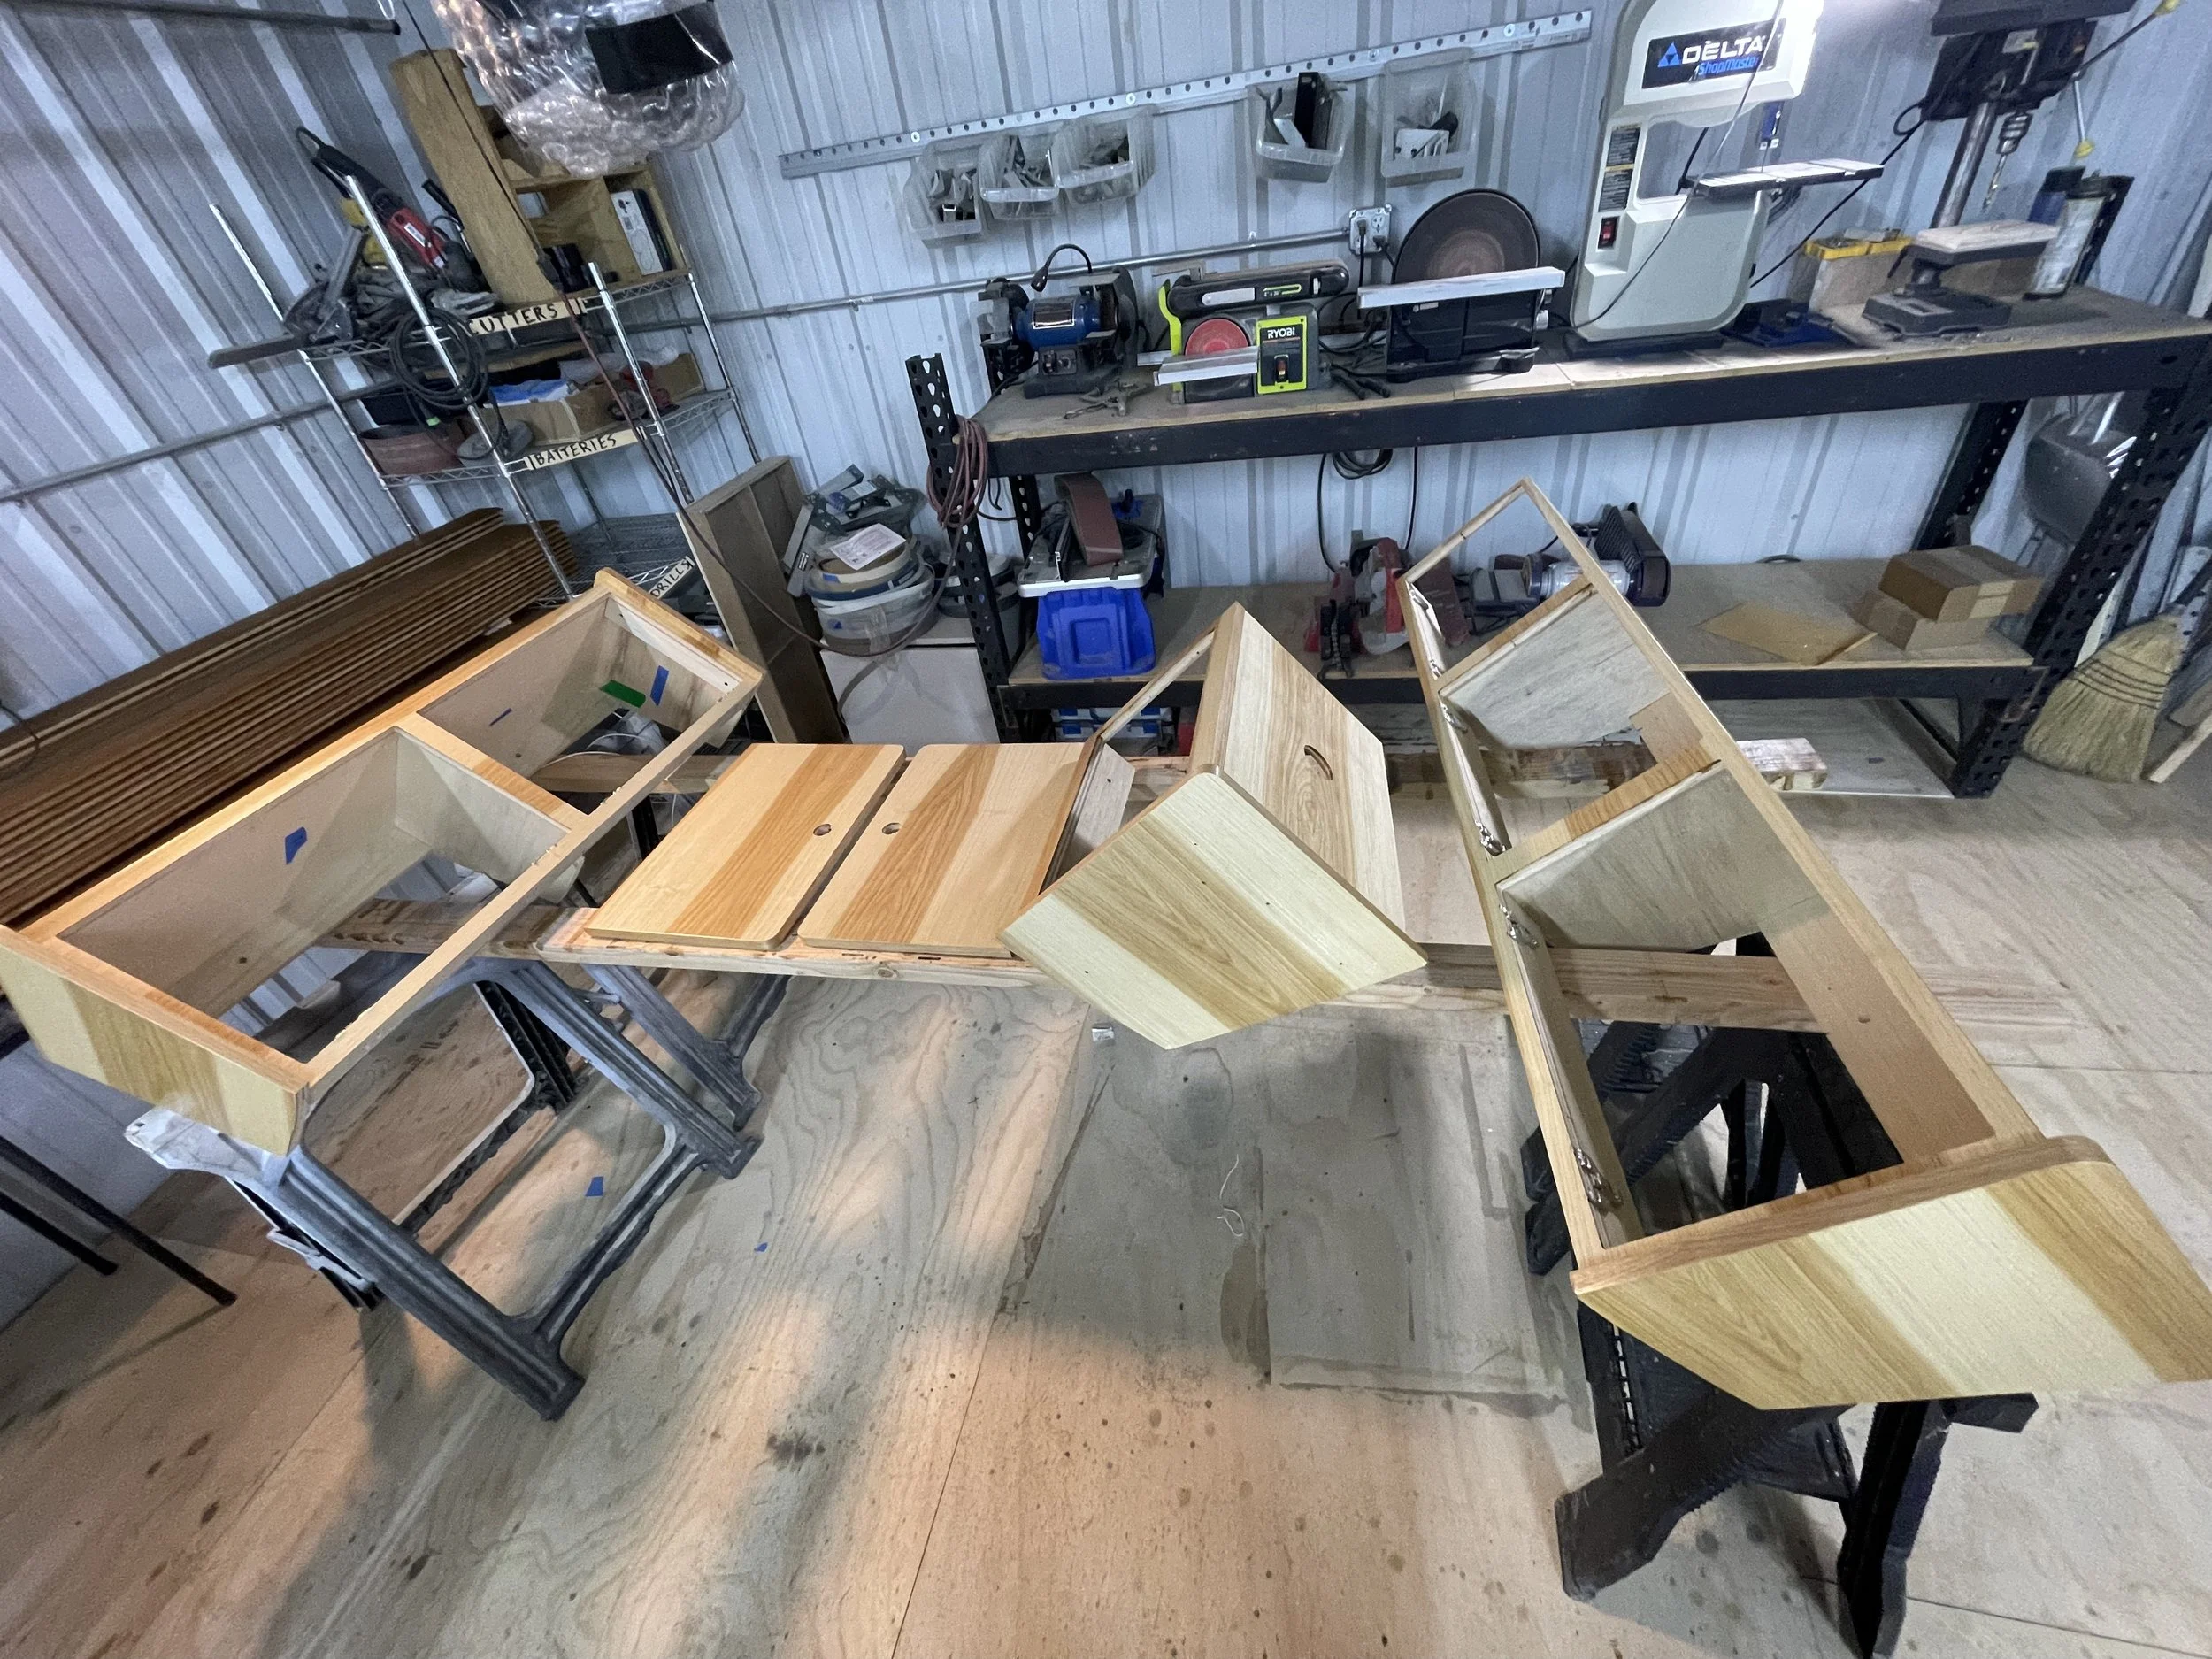
Cabinetry, Layout, & Interior Design
The layout in this van emphasized simplicity and functionality.
The customer wanted the option to bring extra passengers along, but realized they wouldn’t use this very often, so we opted for a Bellagio Foldaway Seat that could fold up to the wall and open up space while not being used.
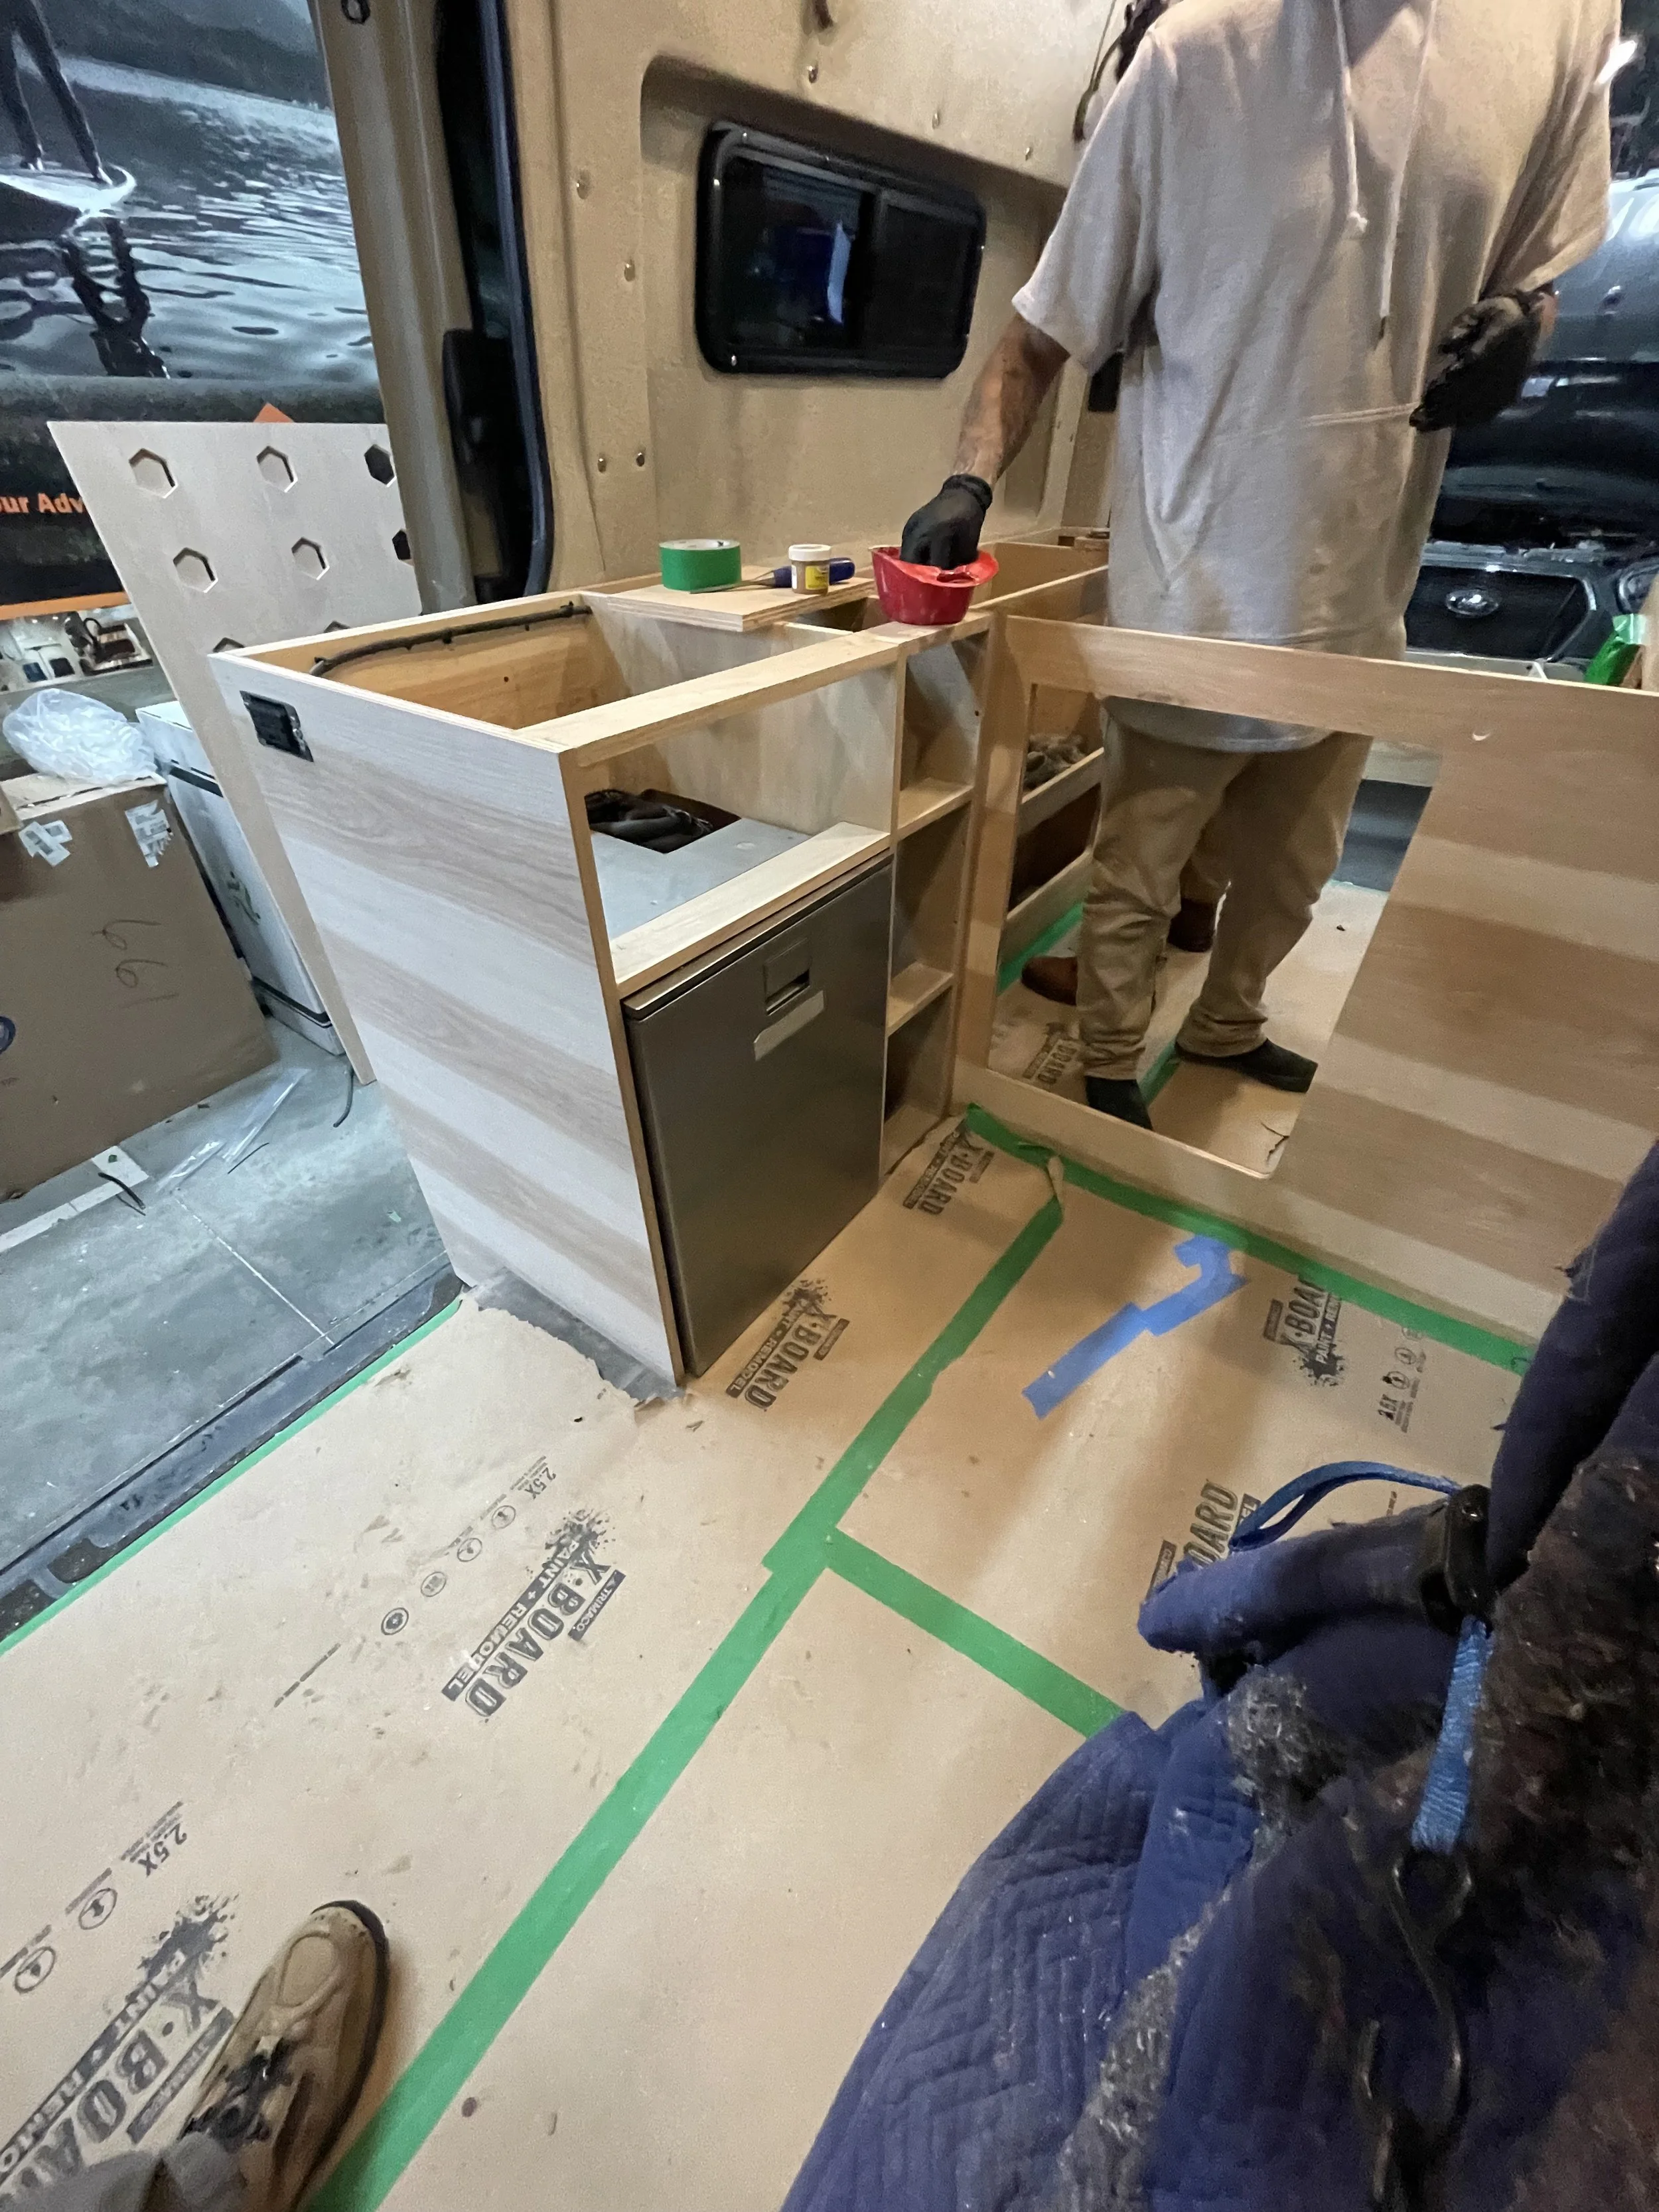
We used Hickory veneer plywood (sourced from National Wood Products) and Hickory Edgebanding throughout the van’s finished surfaces. For cabinet interiors, we use a lightweight Lauan plywood to keep weight down wherever possible. All finished cabinet surfaces were sealed with Oil Based Polyurethane.
Our client brought the van with a Trelino Composting Toilet, so we built a box around it that would serve as both an additional seat in the van and a step up into bed. The galley was basic without plumbing.
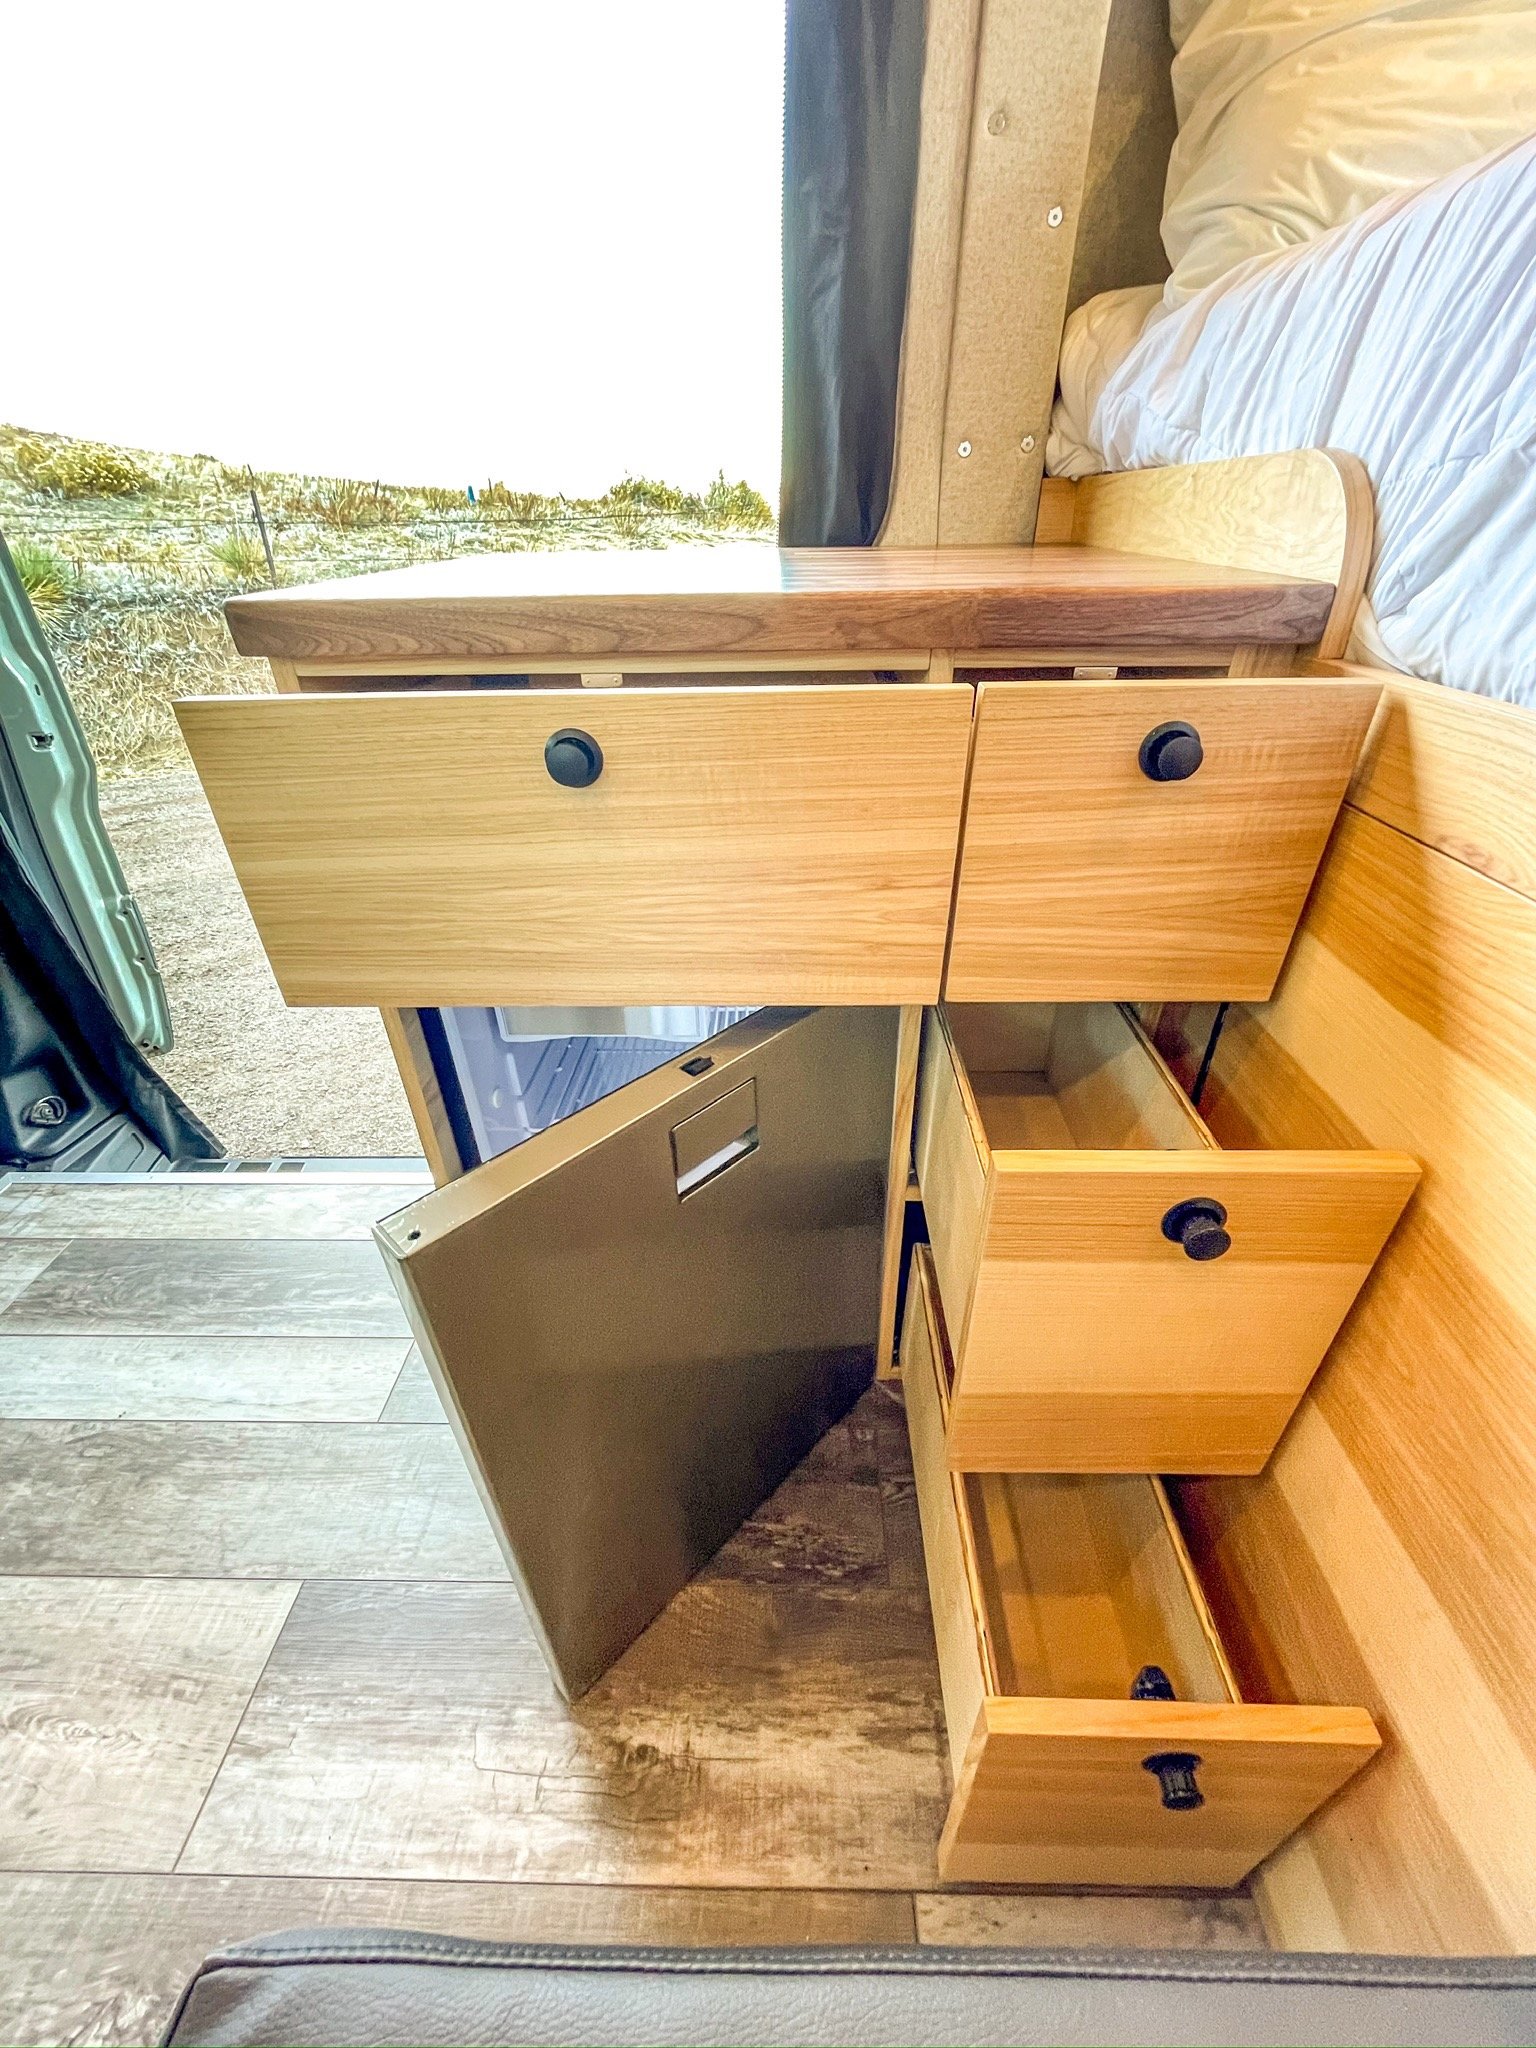
We installed an IndelB EL85 Fridge/Freezer and the rest of the space around the fridge was used for drawers. We always use Blum Undermount Drawer Glides in our vans - these were 18”.
The countertop is walnut butcher block finished with the same polyurethane as the cabinets. We didn’t install or order a cooktop for this customer, but we included outlets on the galley that could handle one later on if needed.
For the garage area, we utilized the space above the wheel well on the driver side to house our battery system and the passenger side box is dedicated storage space.
In between the driver and passenger side boxes, we installed a MORyde 60x33 cargo tray that can be pulled out the back doors and loaded up with gear to be accessed from the pass through door inside the van.
We lit up the space with LED light tracks and LED strip lights installed on the top of both boxes and switched from both inside the van and the garage area.
We built the rear boxes at flare height and used the Flarespace interior trim rings to finish out the interior with our wall panels.
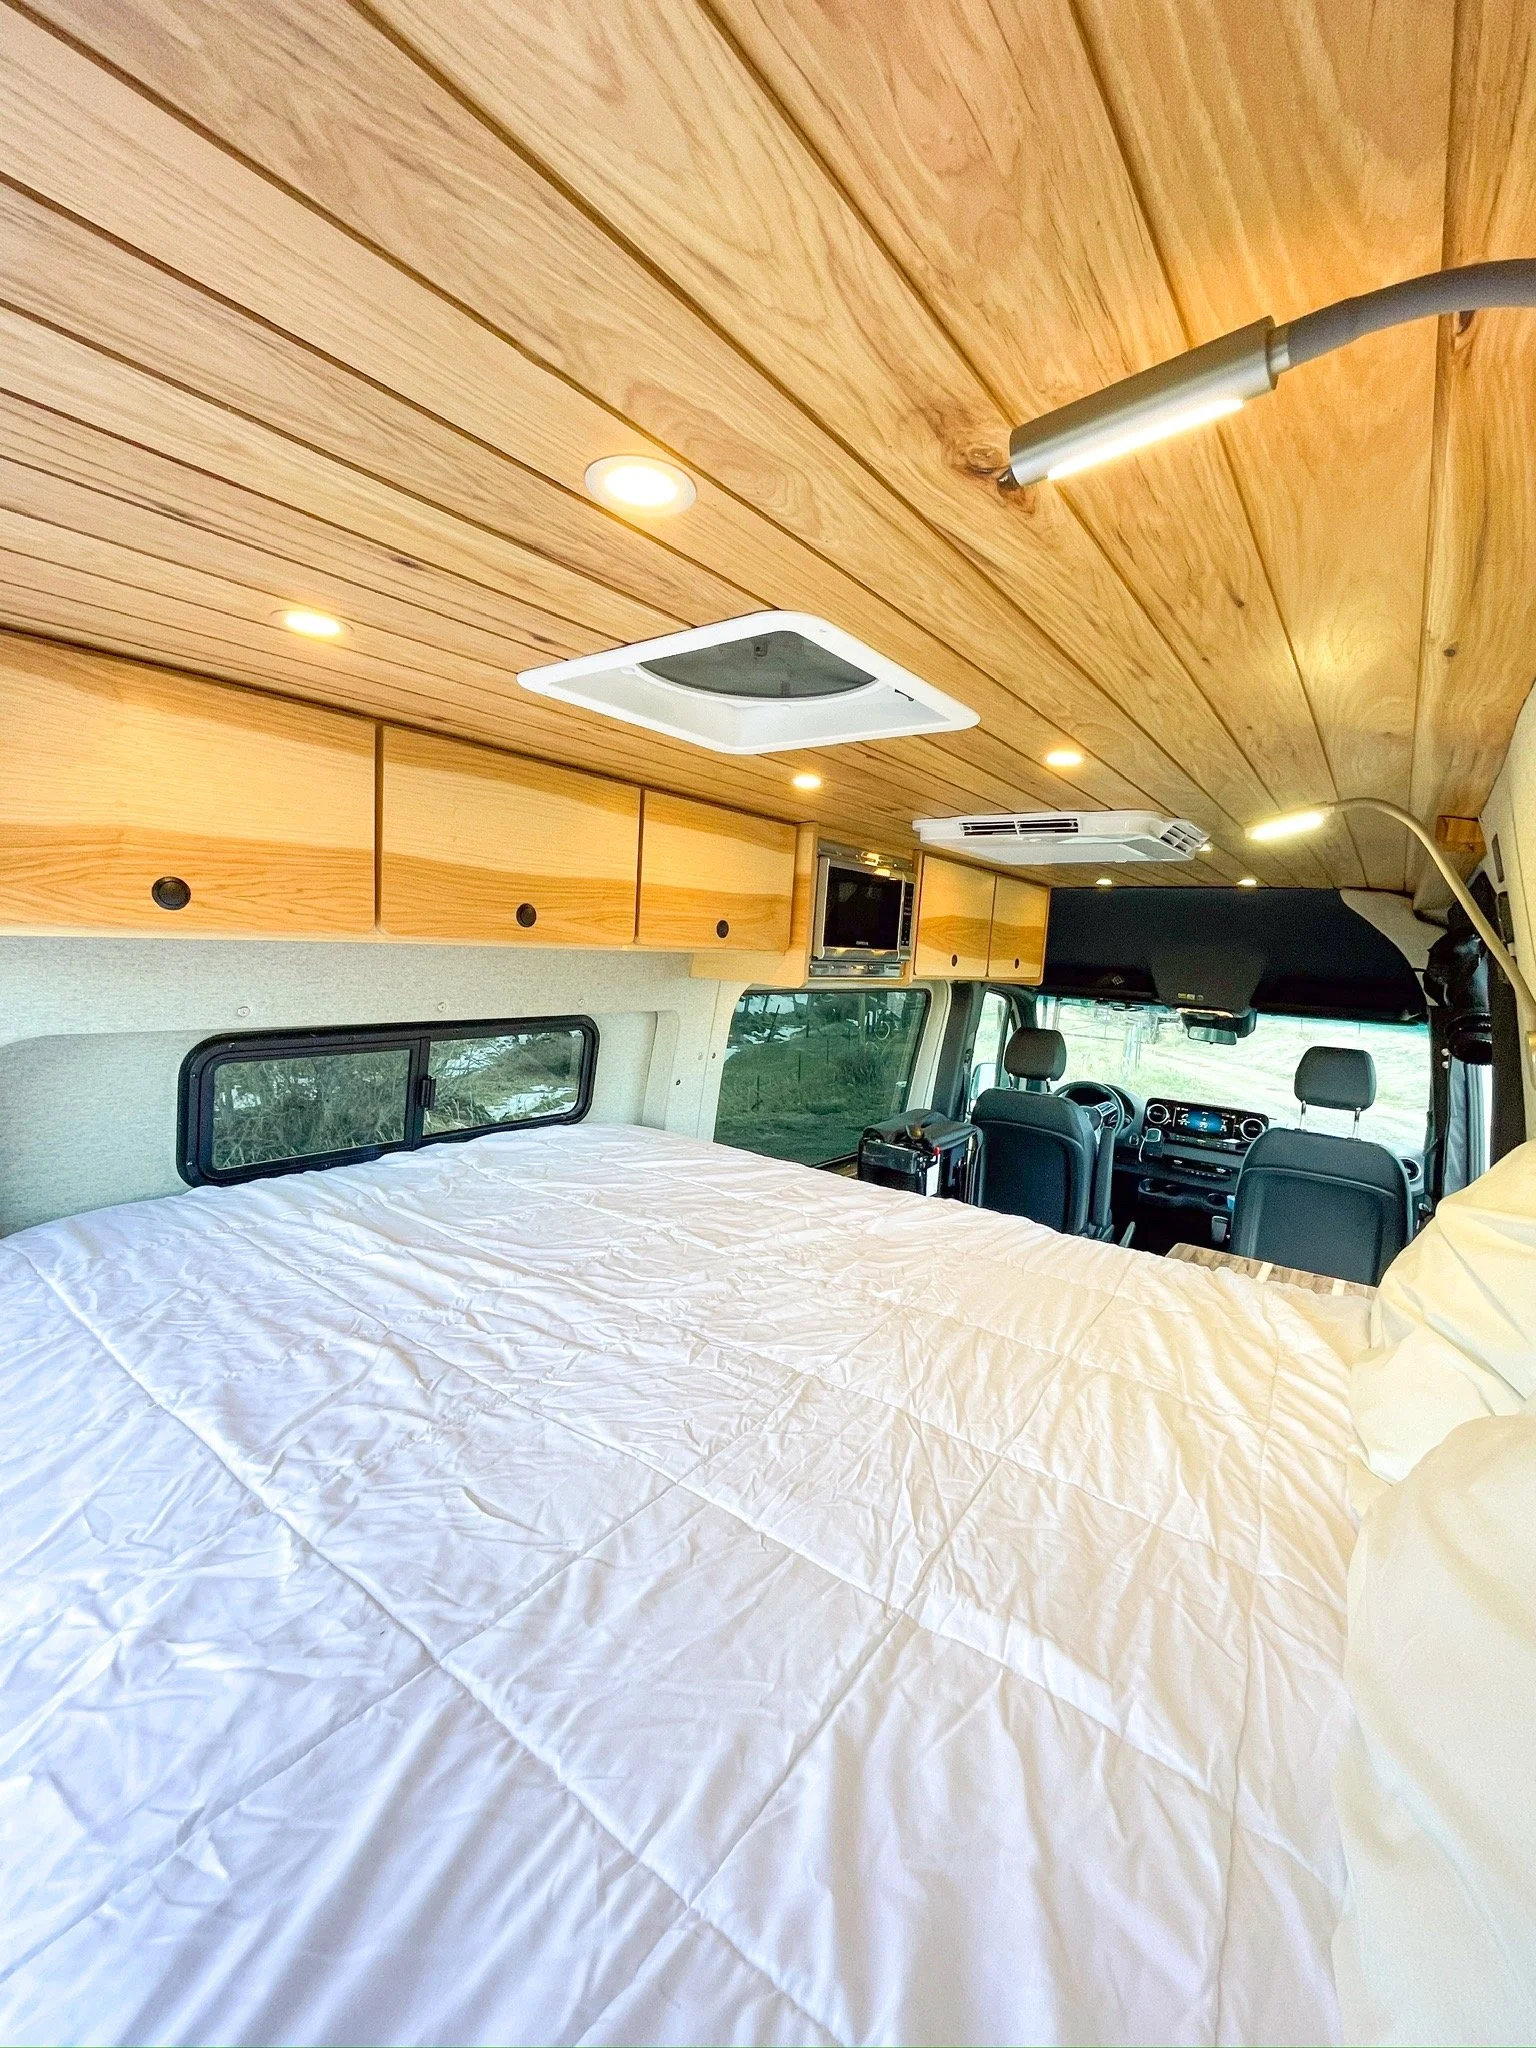
The mattress we went with was the Wilderness RV Montana Hybrid which we had custom cut to fit snugly in the flares. and… We installed flexible reading lights above the bed for more direct light at night time.
For the upper cabinetry we designed around a microwave (plus trim ring) installed opposite the galley in the center of the van.
We made the cabinets in the back above the bed smaller than the cabinets in front of the microwave to maintain room in the bed. All of our cabinet doors stay open with the help of gas struts - 7” struts in the back and 10” struts in the front for the big doors.
All of the upper cabinet doors hinge with Blum overlay cabinet hinges and we used Southco M1-2A-13-5 latches to keep everything closed when driving down the road.
Temperature Control Systems
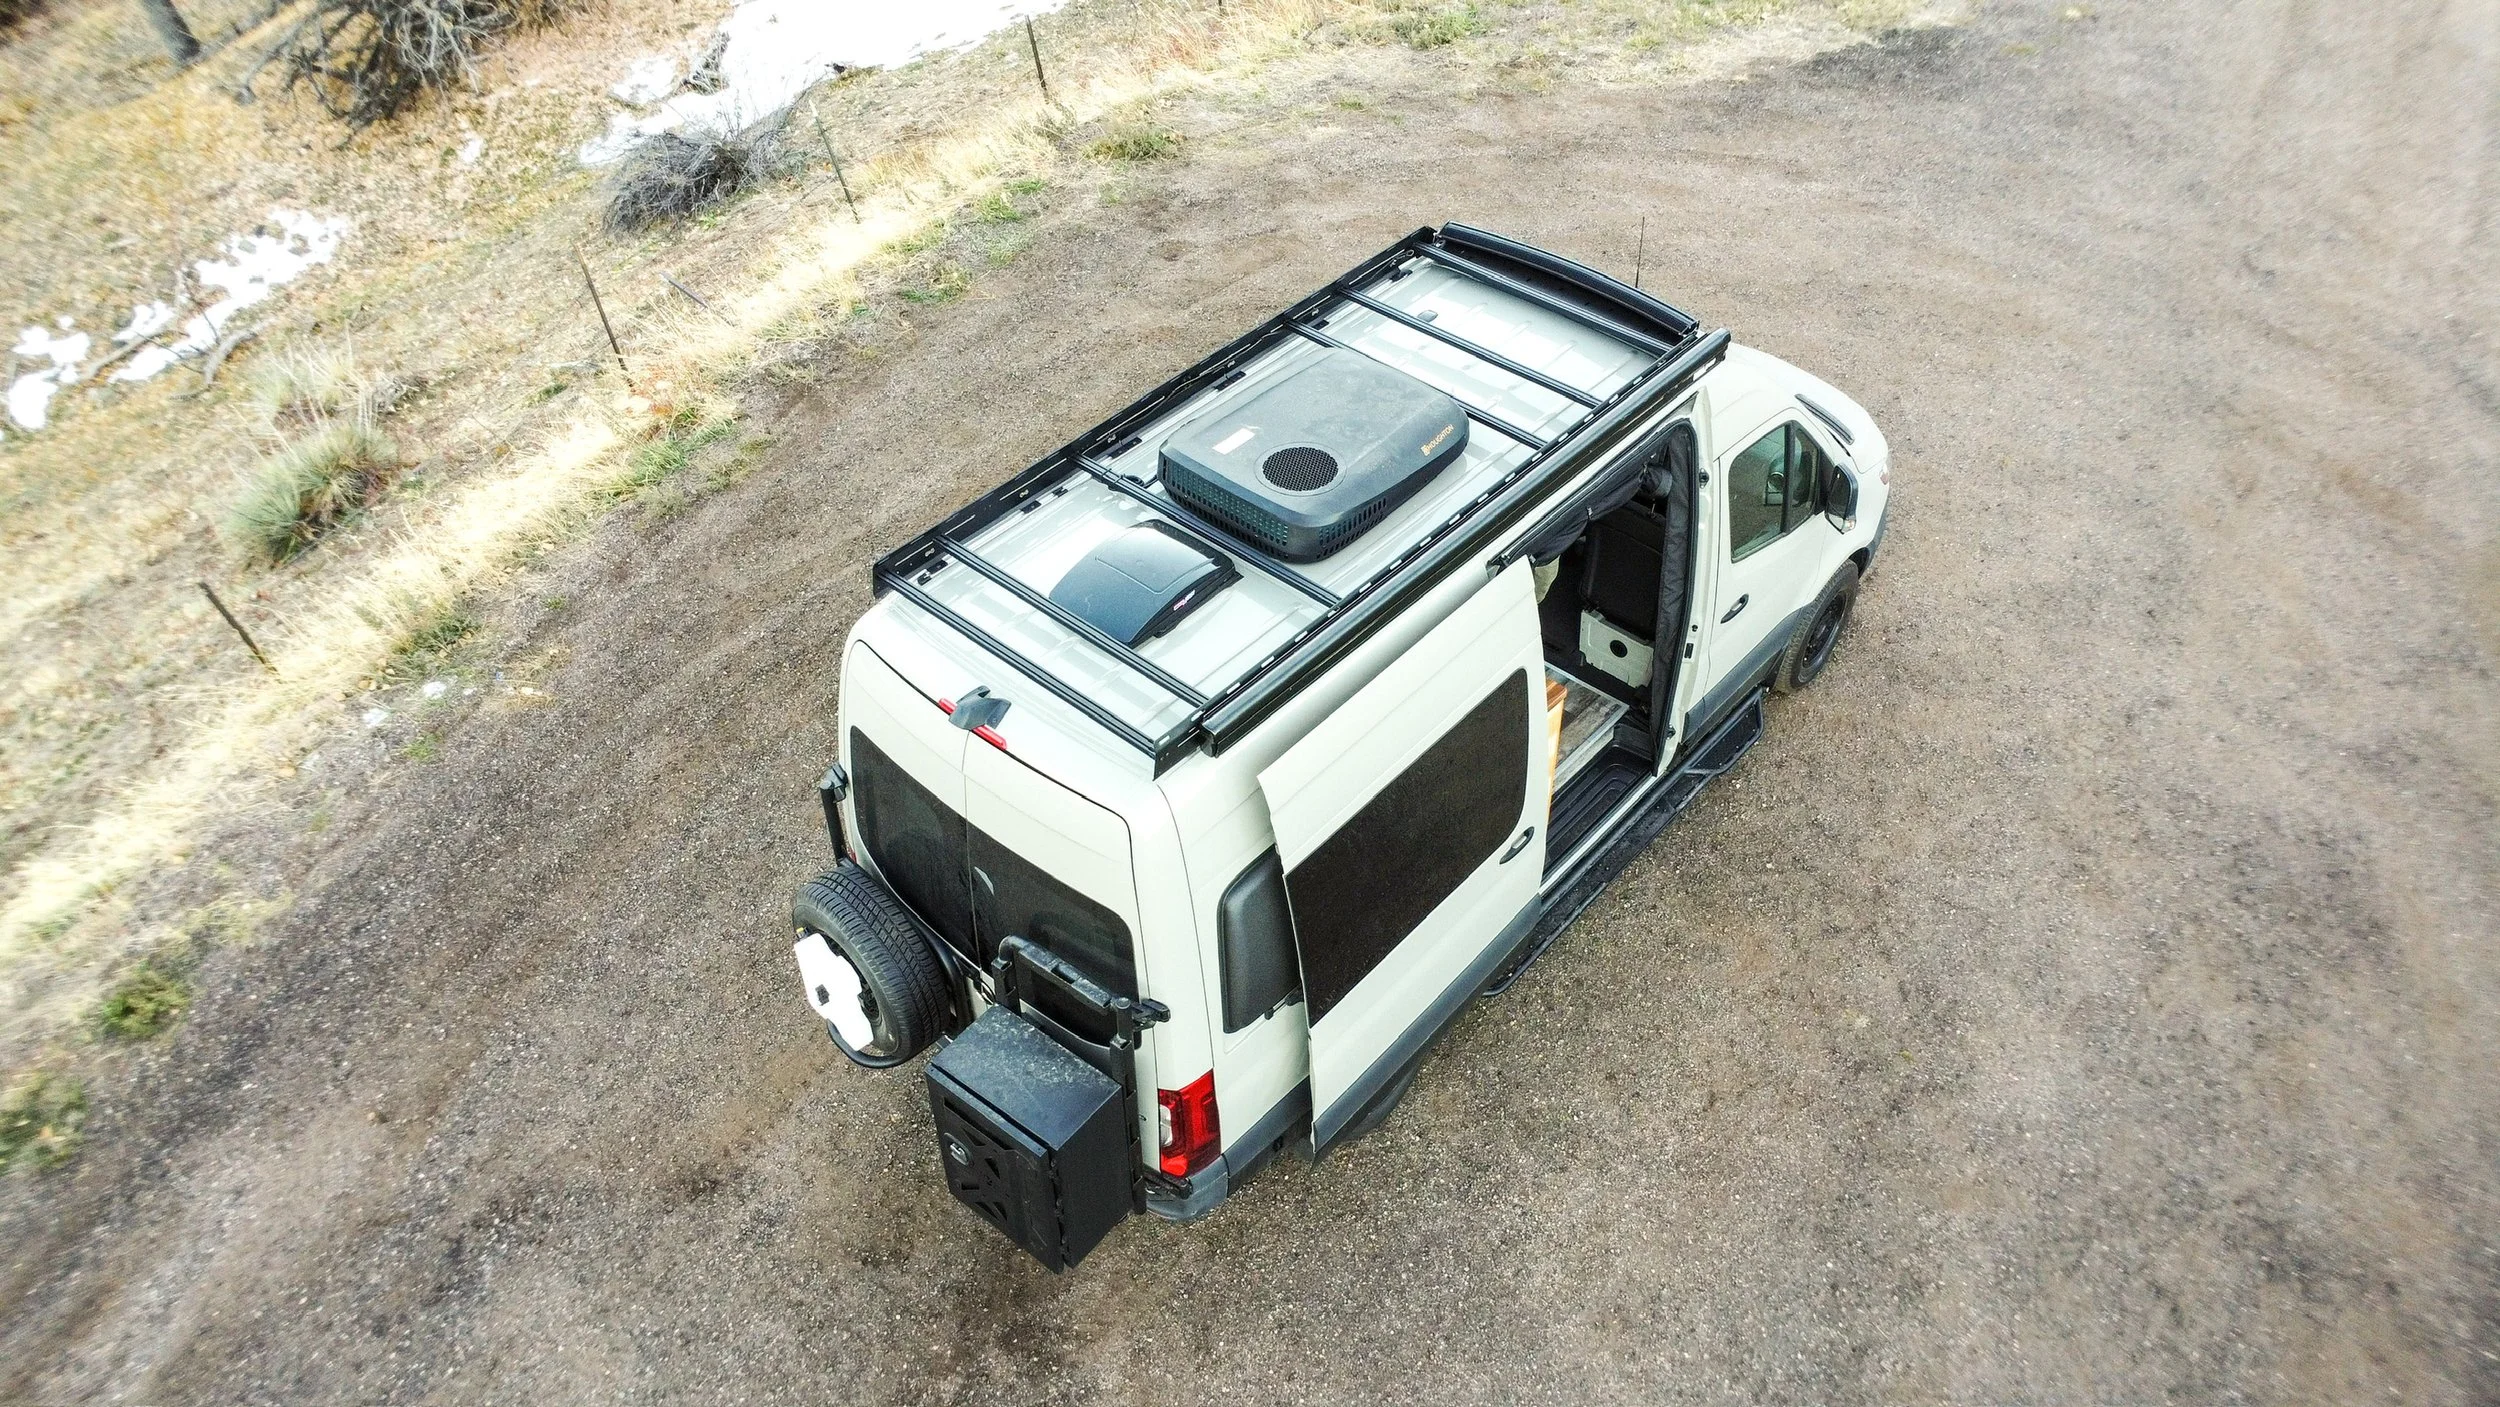
We installed a Maxxair 7500K fan on the roof for airflow and we always use a roof adapter on these fan installations so that the fan sits nice and flat on the roof.
In front of the fan, we installed a black Houghton 13.5K Low Profile RV Air Conditioner with Heat Pump. The battery system we installed can run this for 4-6 hours from full charge depending on exterior conditions, but the customer will mostly use it while plugged into shore power.
We also installed an Espar AS3 D2L Diesel Heater under the front passenger to keep the van nice and warm during cold weather excursions.
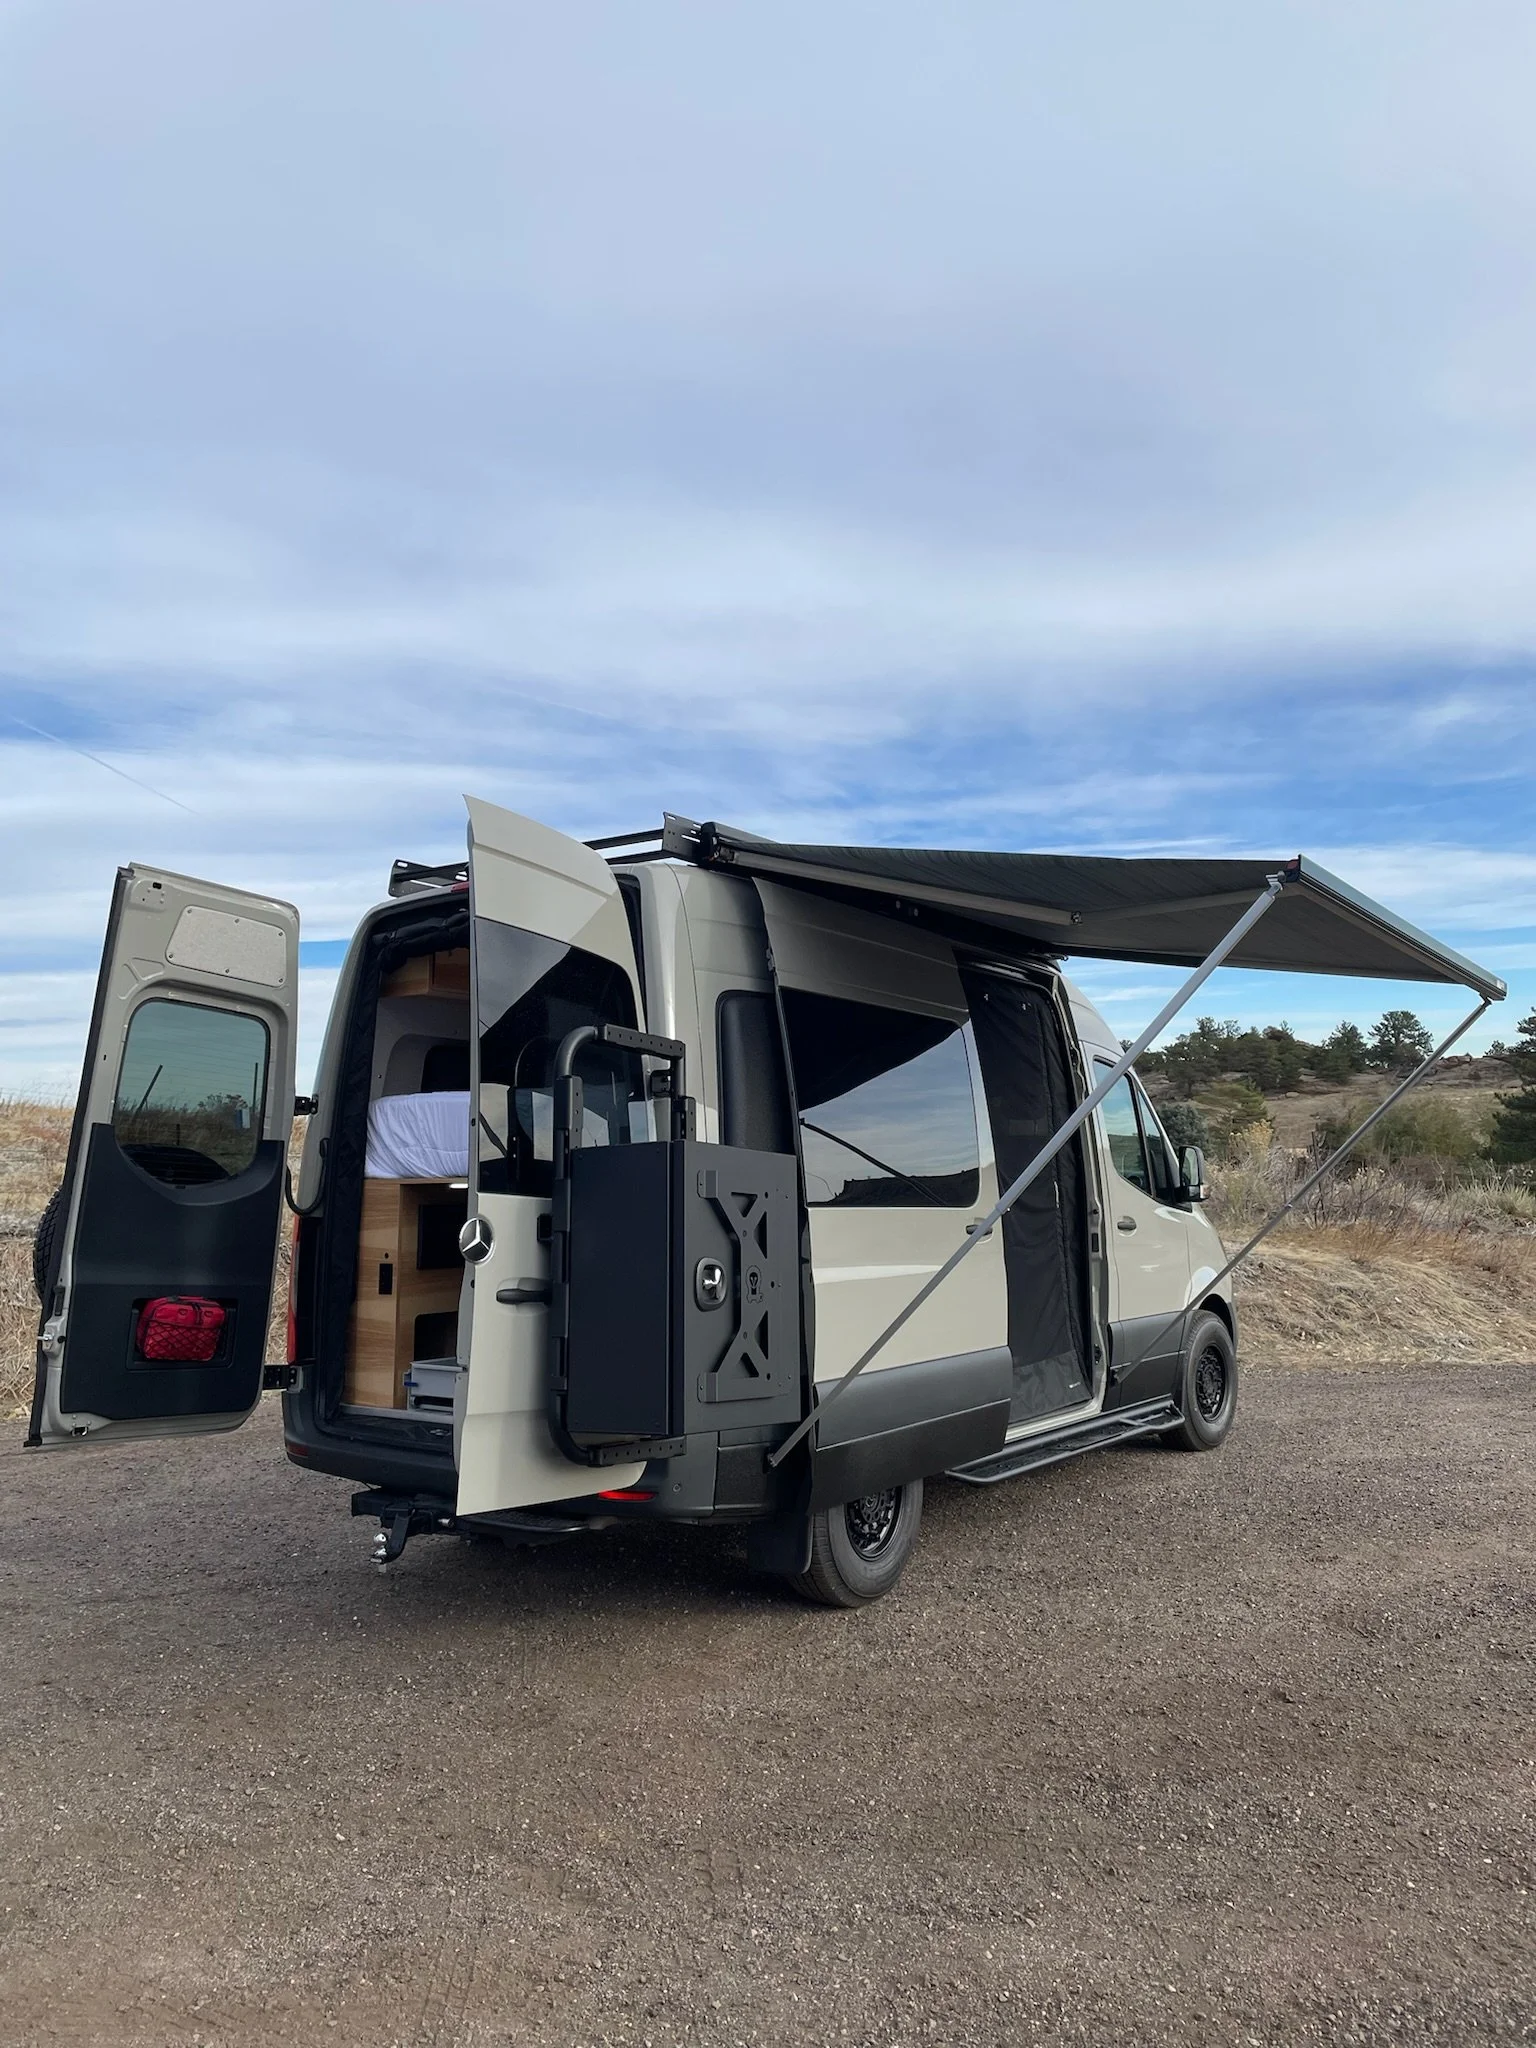
On the roof we installed a Flatline Van Co Standard roof rack with a Baja Light Bar that we switched on the dash next to the steering wheel for easy operation. We bolted a Fiamma F45S 300 Awning to the side of the roof rack for shade in a pinch.
To bring the outside in, we installed a Van Essential Sprinter Bug Screen Bundle to enjoy the awning or just get some fresh air through the slider or rear doors while in the van.
On the rear doors we have an Owl Vans Tire Carrier (with Rotopax) on the driver side door, and an Owl Vans B2 Bike Carrier with Large Expedition Box on the passenger side door.
Exterior Upgrades

Don’t hesitate to reach out to john@coadventurevans.com for DIY product recommendations, assistance with your project, or any other questions you might have. We’re always happy to help!